Before you even think about tackling that spill on your sofa, taking a moment for a few crucial checks can be the difference between a successful clean-up and a costly mistake. Think of your furniture as having a hidden instruction manual—usually a small fabric tag with cleaning codes—that tells you exactly what you can and cannot do. Getting this right from the start is the key to keeping your favourite chair looking its best for years.
Your Pre-Cleaning Upholstery Checklist

It’s tempting to grab a cloth and start scrubbing, but that's a common mistake. I’ve seen it happen: someone attacks a delicate velvet chair with a harsh, water-based cleaner, only to watch in horror as the colour fades and the texture is ruined. A simple five-minute pre-cleaning ritual can save you from that exact headache, protecting your investment and making the whole process go smoothly.
These initial steps are your foundation for a proper deep clean. Skipping them is a bit like painting a wall without dusting it first—you just end up mixing the dirt in, creating an even bigger mess than what you started with.
Decode Your Furniture's Care Tag
Somewhere on your furniture, usually tucked away under a cushion or along a seam, you'll find a small tag with a single, all-important letter. This code is your guide, telling you precisely what kind of cleaning agent is safe for your fabric.
These little letters are the golden rule of upholstery care. Getting it wrong can lead to shrinking, water spots, or colour bleeding—all things you definitely want to avoid. Here’s a quick rundown of what they mean.
Understanding Your Upholstery Cleaning Codes
A quick reference guide to deciphering the cleaning codes on your furniture's label to prevent damage.
Ignoring these codes is genuinely the fastest way to ruin your furniture. It’s the difference between a refreshed-looking sofa and an unplanned trip to the furniture shop.
The Importance of a Thorough Vacuum
Once you know which cleaners you can use, the next job is to get rid of all the loose dirt, dust, pet hair, and crumbs. And I don’t mean a quick pass-over. This needs to be a detailed vacuuming session that properly preps the fabric for a deeper clean. Why? Because surface-level grit is surprisingly abrasive. When you add liquid, that grit turns into a muddy paste that gets ground deep into the fibres, wearing them down much faster.
A thorough vacuuming is non-negotiable. It prevents you from turning loose dust into mud during the wet cleaning phase, which can lead to permanent discolouration and fabric damage.
Use your vacuum’s upholstery attachment and get into every crevice, seam, and corner. Don’t forget to lift the cushions and vacuum underneath. If you're dealing with stubborn pet hair, try this trick: put on a rubber glove, dampen it slightly, and wipe your hand across the fabric. The hair will ball up, making it easy to vacuum away. A clean surface allows your cleaning solution to work directly on the stain itself, not on a layer of dust.
For more ideas on giving your space a new lease of life, our guide on how to arrange furniture in a living room offers some fantastic inspiration.
Always Perform a Spot Test
This is the final, and most critical, step before you start cleaning. Even if your furniture has a ‘W’ tag and you're using the mildest natural cleaner you can find, you have to test it first. Fabrics can react in unexpected ways due to dyes, special finishes, or even residue from previous cleaning attempts.
Choose a spot that's completely out of sight—the back of the skirt, underneath a cushion, or on a seam allowance at the back. Apply a small amount of your cleaning solution to a clean, white cloth and gently dab it onto the test area. Don't rub, just blot. Let it sit for a few minutes, then blot it with a dry part of the cloth.
Now, wait for the spot to dry completely before you check it. Look for any changes in colour or texture. If you see any dye bleeding, fading, or a water ring forming, stop right there. That cleaner is not the one for your furniture, and you’ve just saved yourself from a full-blown disaster.
Assembling Your Cleaning Toolkit
Right, you’ve figured out your furniture’s care tag and given it a good vacuum. Now it's time to get your cleaning gear together. You don’t need a van full of professional equipment to get a brilliant result; the real secret often comes down to simply having the right tools for the job.
The good news is, you probably have most of what you need tucked away in a cupboard already. With a small, well-chosen kit, you can handle anything from a quick freshen-up to some more serious grime without doing any damage.
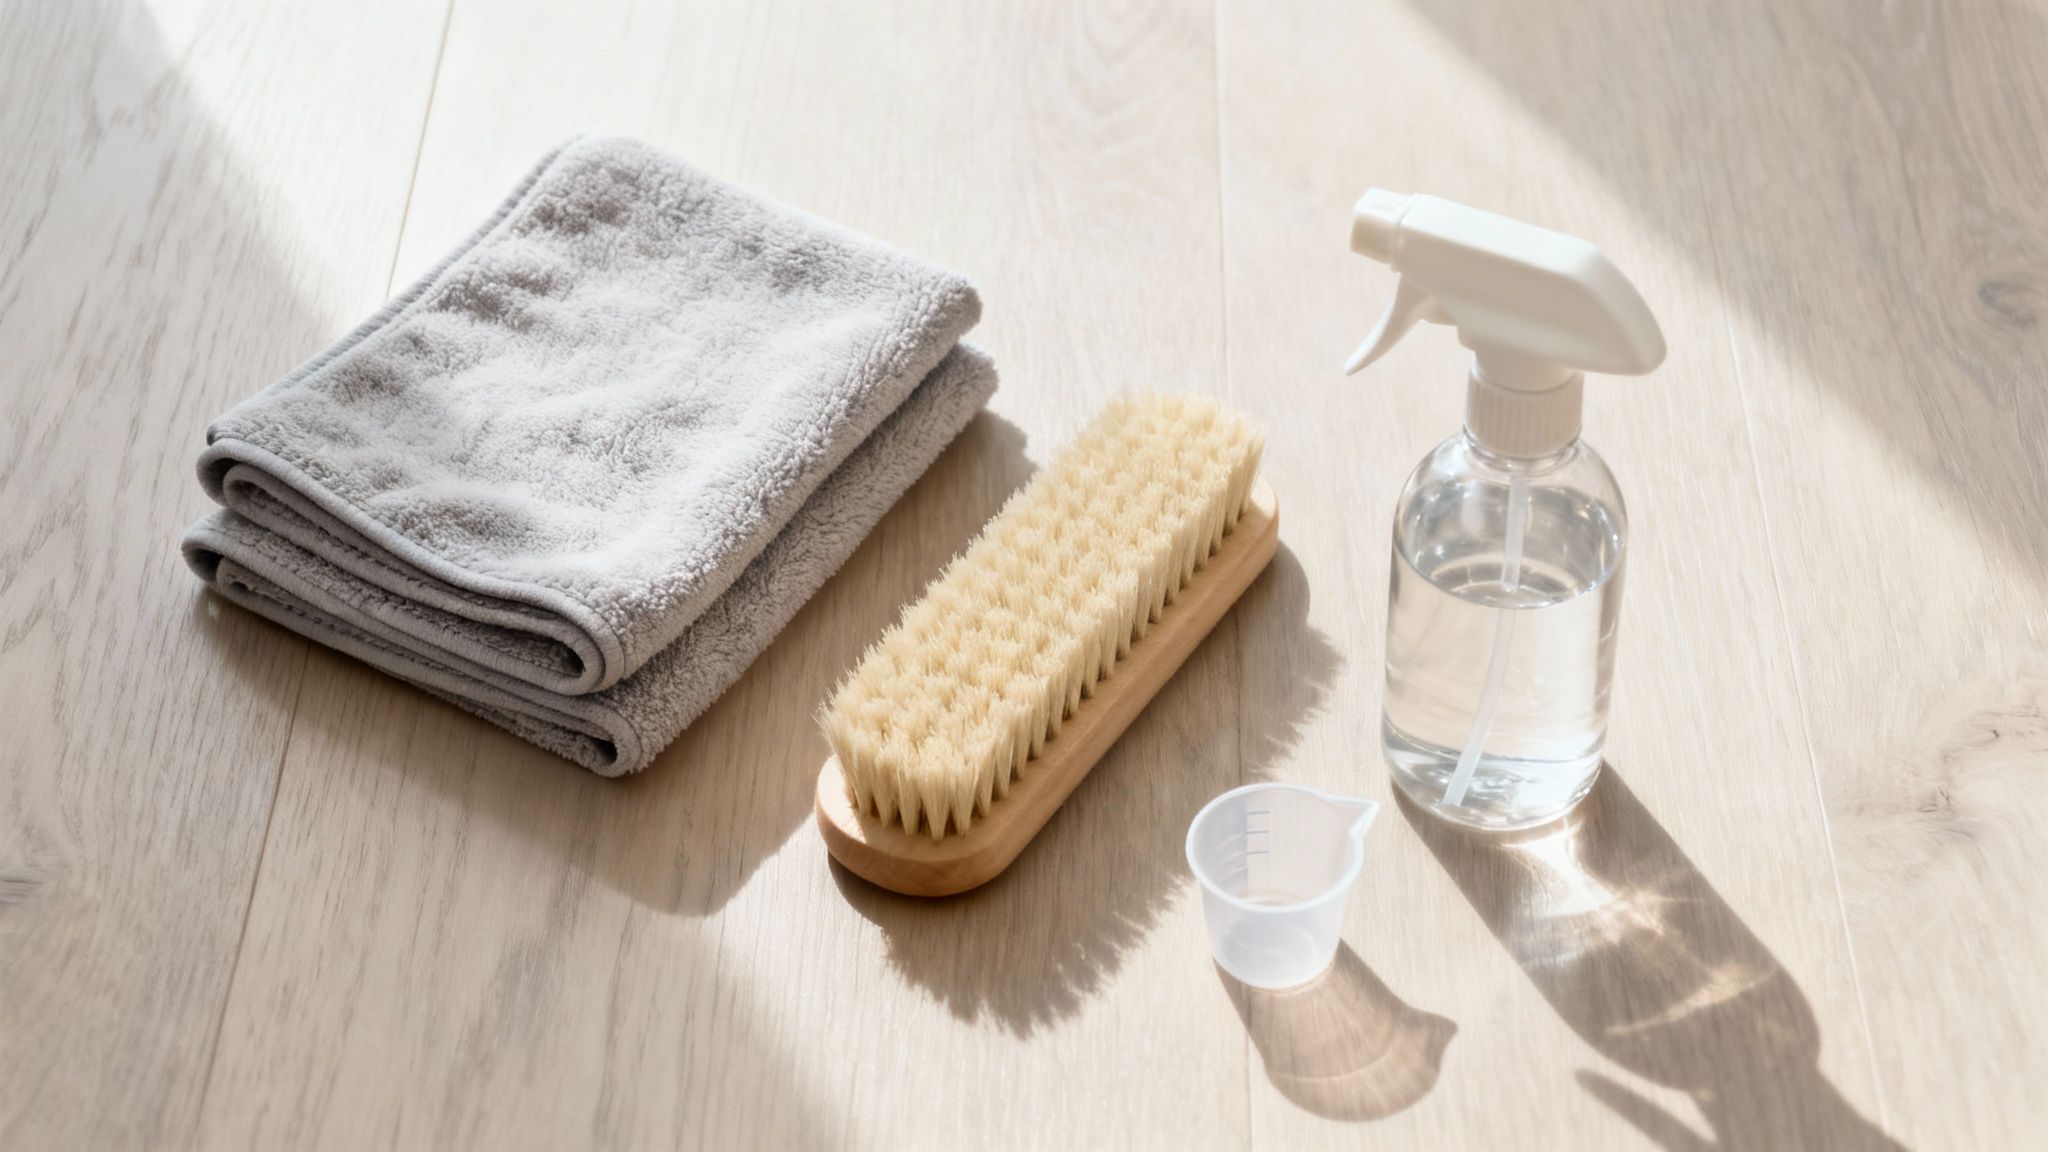
The Everyday Essentials
Before you even think about specialised cleaners, let’s start with the basics. These simple items are the absolute workhorses of any upholstery cleaning project and are gentle enough for most fabrics.
- Microfibre Cloths: You’ll want at least two of these – one for applying your cleaner and another for blotting it dry. Their magic is in how they absorb and lift dirt and moisture out, rather than just pushing it deeper into the fabric. Stick to white or light-coloured cloths to be absolutely sure there’s no dye transfer.
- Soft-Bristled Brush: A brush with soft, natural bristles is ideal. It helps you gently work the cleaner into the fabric to loosen dirt, but without the risk of snagging or fraying the fibres. An old, clean toothbrush is perfect for tiny, stubborn spots.
- Spray Bottle: This is key for applying any liquid solution evenly and lightly. A fine mist is what you're after. It stops you from soaking the fabric, which is a common mistake that leads to those awful watermarks or even mildew.
These three items are the core of your kit. Having them ready means you’re always prepared for a quick spill or a full-on deep clean.
Choosing Your Cleaning Solution
This is where that little cleaning code on your furniture’s tag becomes so important. Whether you opt for a homemade remedy or a commercial product really depends on what your sofa or chair can safely handle.
For fabrics with a ‘W’ code, a simple DIY solution is often your best bet. It’s cheap, it’s gentle, and you know exactly what’s in it.
My Go-To DIY Upholstery Cleaner Recipe:
- In a spray bottle, mix equal parts cool water and white vinegar.
- Add about half a teaspoon of a clear washing-up liquid.
- Give it a gentle shake to combine. The vinegar is a brilliant natural deodoriser and stain lifter, while the soap helps to break down any greasy marks.
However, for more delicate materials or really tricky stains, a shop-bought cleaner is often the smarter, safer choice. For ‘W/S’ fabrics, you'll need a specifically formulated pH-neutral, water-based commercial cleaner that won't leave a residue. And for anything with an ‘S’ code, you absolutely must use a water-free dry cleaning solvent to avoid ruining the fibres.
When you're buying a product, always look for one made for upholstery, not a generic all-purpose cleaner that might be too harsh. Making the right choice here protects the colour and texture of your fabric. It’s just like picking the right material for your curtains in the first place, something we cover in our curtain buying guide – the right choice makes all the difference in the long run.
When to Bring in the Heavy Machinery
For a proper deep clean, or to tackle a piece of furniture that hasn't seen any love in years, renting an upholstery cleaning machine can be a real game-changer. These machines, sometimes called extractors, work by spraying a cleaning solution deep into the fabric and then immediately sucking all the dirty water back out.
This method gives a much deeper clean than you could ever achieve by hand, pulling out all the embedded dirt, grime, and allergens. It's especially effective on those hard-wearing, family-friendly fabrics that get a lot of daily use.
If you do rent a machine, here are a few tips from experience:
- Get the right attachment: Make sure you get the smaller, handheld upholstery tool, not the big one for carpets.
- Go slow and steady: Work in small, slightly overlapping sections, moving from the top down to avoid streaks.
- Don't soak it: For each section, do one pass spraying the solution, followed by two or three slow "dry" passes to suck out as much water as possible. The aim is a damp fabric, not a soaking wet one.
Renting a machine every year or two is a worthwhile investment for your most-used furniture. It truly restores its look and feel in a way that hand-cleaning just can't quite match.
The Method for Deep Cleaning Furniture Fabric
Right, with your prep work done and your cleaning kit ready, it’s time to get down to the deep clean. This is where that initial effort really pays dividends, letting you work methodically to bring your furniture back to life. The aim here isn't just to wipe away surface dirt, but to do it properly without causing watermarks or mildew down the line.
This isn’t about brute force or aggressive scrubbing. It’s about using smart, gentle techniques to lift out that embedded grime, restoring your fabric’s colour and feel safely.
Mastering the Top-Down Technique
One of the biggest mistakes I see people make is diving straight in on a big stain in the middle of a cushion. This almost always leaves a noticeable "clean spot" that can look just as jarring as the original stain. To get a professional, even finish, you need to work from the top of the furniture down, tackling one complete section at a time.
For a sofa, for example, you'd start with the top of the backrest, move on to the arms, and finish up with the seat cushions. This systematic approach stops dirty cleaning solution from dripping onto areas you’ve just cleaned and ensures everything looks uniform.
I always recommend working in small, manageable patches—no bigger than two square feet. This is key because it stops the cleaning solution from drying out before you've had a chance to work it in and blot it away, which is what causes those dreaded water rings.
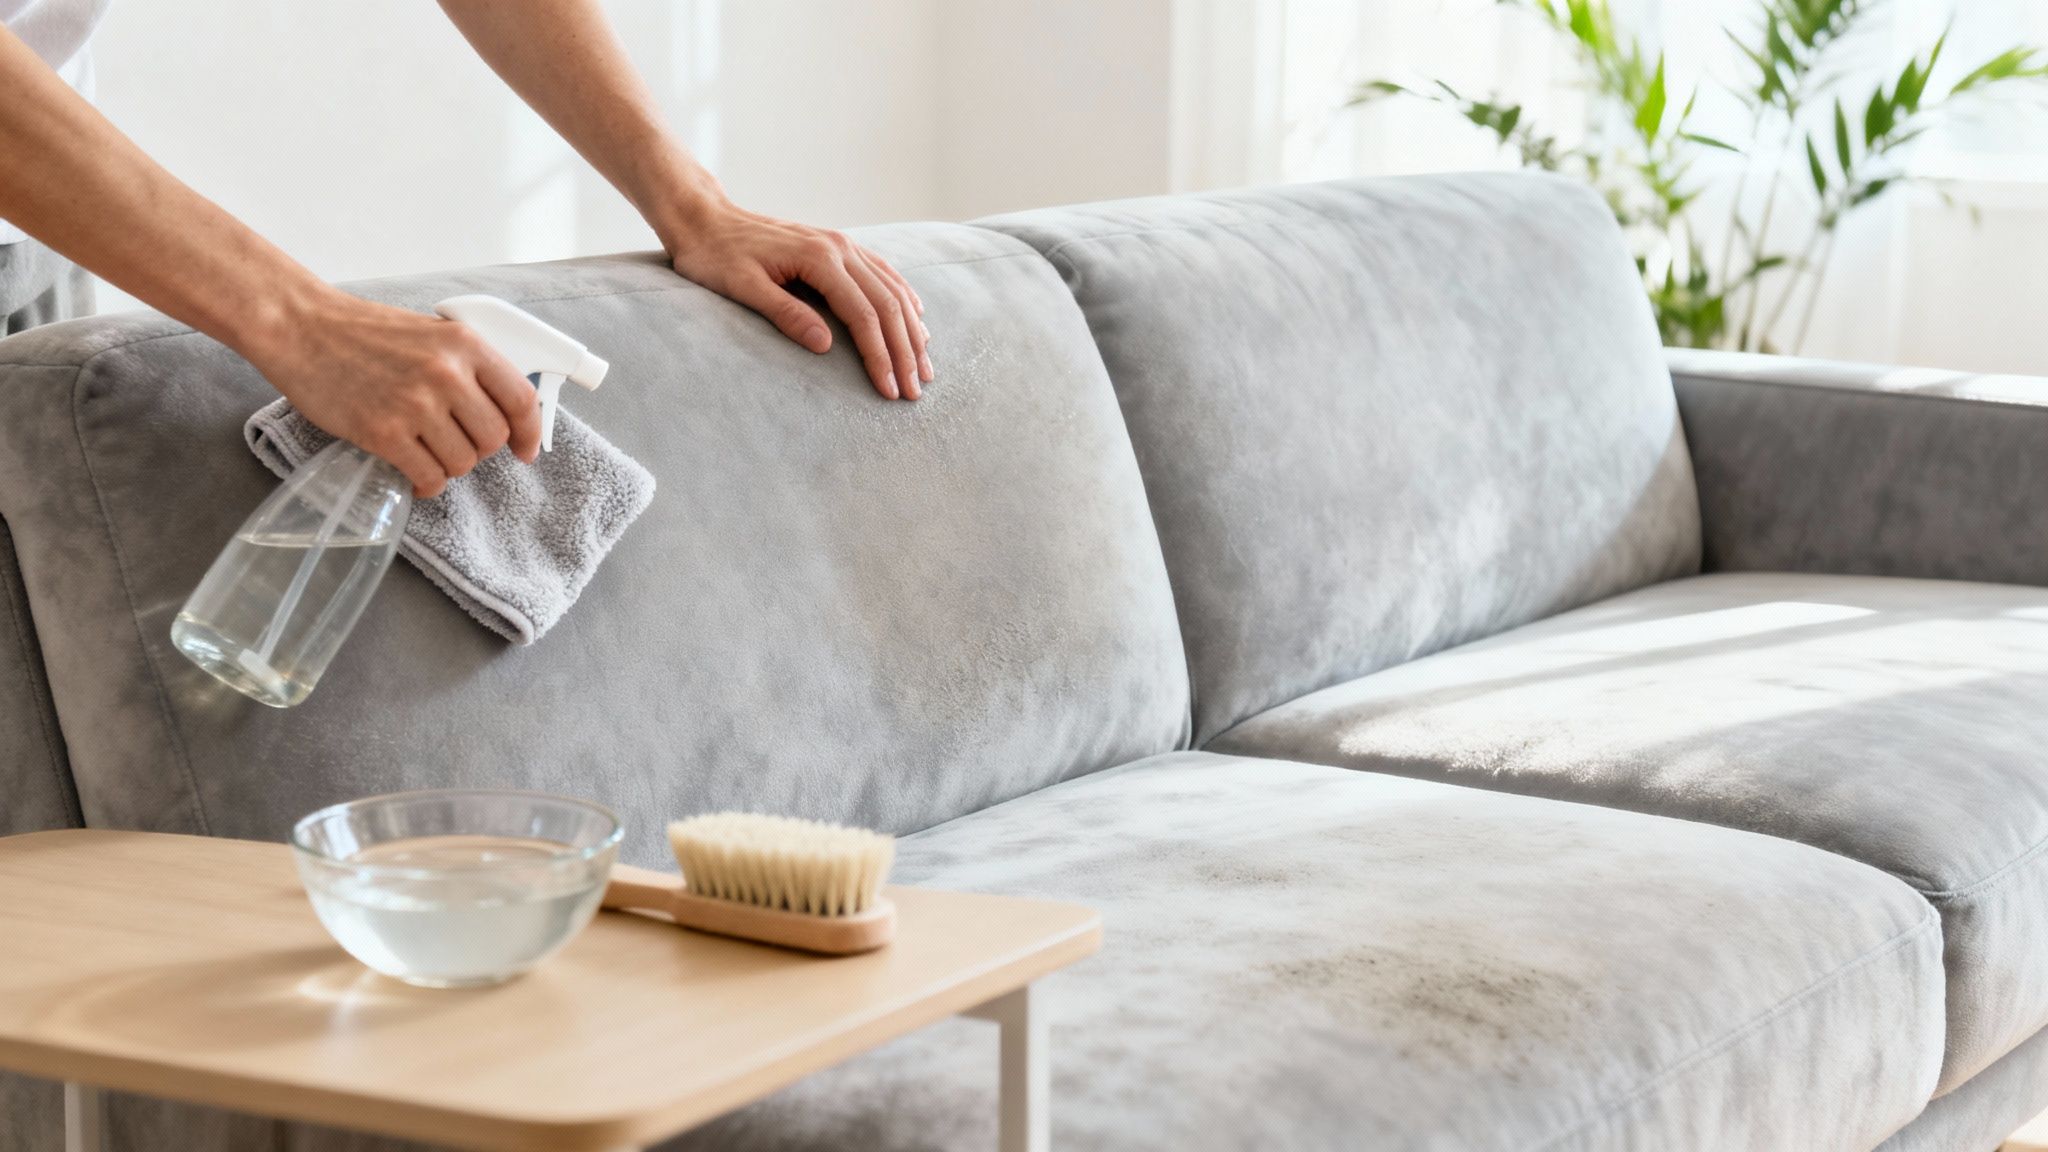
The Gentle Art of Agitate and Blot
For most fabrics that you're cleaning with a DIY or commercial solution, the "agitate and blot" method is your go-to. It's brilliant for lifting everyday dirt without being too harsh on the fibres.
- Lightly Mist: Spray a fine, even mist of your cleaner onto a small section. You want the fabric to be damp, never soaking wet. Oversaturation is your worst enemy here; it can seep into the padding and lead to musty smells later.
- Gently Agitate: With your soft-bristled brush, gently work the cleaner into the fabric using small, circular motions. You'll see a light foam start to form as the brush loosens dirt from the fibres.
- Blot, Don't Rub: Grab a clean, dry microfibre cloth and immediately press it firmly onto the area to soak up the dirty solution. Keep folding the cloth to a fresh side and blotting until it comes away clean and the fabric is only slightly damp.
The goal is to lift the dirt out of the fabric, not grind it further in. Rubbing too hard can fray delicate weaves or spread a stain, so a gentle dabbing or blotting motion is always the way to go.
Once one section is done, move to the next, slightly overlapping the edge of the area you just cleaned. This little trick helps blend everything together seamlessly, avoiding any tell-tale cleaning lines. This kind of meticulous care is just as vital for furniture as it is for floors; you'll find similar detailed advice in our guide on how to clean engineered hardwood floors.
Using an Extractor for a Deeper Clean
If you've gone the extra mile and hired an upholstery extractor for a really thorough job, the basic principles are the same, but the machine does the hard work for you. This is an absolute game-changer for high-traffic pieces that have seen better days.
It’s clear more people are looking for these deeper cleaning solutions. In the UK, the carpet and upholstery cleaning market hit a staggering USD 3,988.7 million in 2022. While carpet cleaning is the biggest piece of the pie, upholstery cleaning is the fastest-growing part of it, showing just how much we're investing in specialised home care.
When you're using an extractor, follow these steps for the best results:
- Prep the Machine: Fill the tank with the right cleaning solution, paying close attention to the manufacturer's dilution instructions. Too much detergent will leave a sticky residue that just attracts more dirt.
- Work in Straight Lines: As with the manual method, work from top to bottom in small sections. Pull the handheld tool towards you in a slow, steady line as you squeeze the trigger to release the cleaning solution.
- Make a Few "Dry" Passes: This is crucial. For every "wet" pass where you spray solution, immediately go back over the same spot two or three times without spraying. These "dry" passes are what pull the maximum amount of moisture and dirt out of the fabric.
- Slightly Overlap Your Strokes: Overlap each pass by about an inch. This ensures you don't miss any spots and helps you avoid leaving visible stripes on the fabric.
This method doesn't just clean the surface; it pulls grime from deep within the padding, leaving your furniture looking and feeling exceptionally refreshed.
How to Tackle Common Upholstery Stains
Let's be realistic—spills happen. That split-second of panic when red wine sloshes over the side of the glass or a mug of coffee takes a tumble doesn't have to ruin your favourite armchair. The real secret isn't just acting fast, but acting smart.
Think of this as your go-to guide for life's little messes. Every spill is different, chemically speaking, and throwing the wrong cleaner at it can do more harm than good. You could end up setting the stain permanently or, even worse, creating a bigger, more noticeable patch.
Your First Move: Contain and Blot
The absolute golden rule of stain removal is to get to it immediately. The longer a spill sits, the deeper it sinks into the fabric fibres, making it much harder to lift out. Your first job is always to contain the damage, not scrub it into oblivion.
Before you reach for any cleaner, get rid of the excess. For liquids, grab a clean, dry, white microfibre cloth and gently blot. Always work from the outside of the spill inwards to stop it from spreading. If you're dealing with something thicker, like mud or ketchup, use a dull knife or the edge of a spoon to carefully scrape away the solids.
Whatever you do, resist the urge to scrub. It’s the single worst thing you can do. Frantically rubbing at a stain just grinds the particles deeper into the weave and can fray the fabric, leaving a fuzzy patch that’s just as unsightly as the original spot.
Once you’ve blotted or scraped, you’re ready to treat what’s left behind.
Your Upholstery Stain Removal Cheat Sheet
To make things easier, here's a quick-reference chart for the most common culprits. Keep this handy, and you'll know exactly what to reach for when a spill happens.
Treating a stain is one thing, but a consistent care routine can make all the difference. Incorporating a few small habits that make your home feel better into your week, like regular vacuuming and fluffing cushions, helps keep your furniture looking its best for longer.
Conquering Coffee and Red Wine Spills
These two are the heavy hitters of the stain world, thanks to dark pigments and tannins that are literally designed to stain. Don't despair, though; with the right technique, they can often be beaten.
After you've blotted up every last drop you can, mist the area lightly with cool water. Then, mix up this simple but effective solution: combine a tablespoon of white vinegar and a small squirt of clear washing-up liquid in about 500ml of cool water.
Dab this mixture onto the stain with a clean cloth—don't soak the fabric, just use enough to work on the mark. Gently blot, switching between your cleaning cloth and a clean, dry one to lift the colour out. You might have to repeat this a few times, but patience is key. The vinegar helps break down the pigments, and the soap gets to work on any oils or sugars.
Dealing with Grease and Oil Marks
Grease stains from culprits like pizza, butter, or salad dressing are a different beast entirely because oil and water don't mix. Trying to clean them with a water-based solution will just create a smeared, oily mess. First, you need to absorb the grease.
The solution is probably already in your kitchen cupboard. Cornflour or baking soda work wonders here. Sprinkle the powder generously over the fresh grease stain until it's completely covered. Now, walk away. Let it sit for at least 15-20 minutes (even longer for a bad spill).
While it sits, the powder acts like a sponge, drawing the oil up and out of the upholstery. Once time is up, just vacuum the powder away with your brush attachment. If a faint mark is still visible, you can tackle it with a tiny bit of dry-cleaning solvent (for ‘S’ code fabrics) or a dab of washing-up liquid on a damp cloth (for ‘W’ codes).
Erasing Ink and Pet Accidents
A leaky biro can look like a complete disaster, but it's often fixable. For water-based ink, the vinegar and soap solution we've already mentioned can do the trick. If you're up against oil-based ballpoint ink, rubbing alcohol is your best bet. Always, always test it on a hidden spot first. Then, apply a small amount to a cotton bud and gently dab at the ink, taking care not to let it bleed outwards.
Pet accidents pose a dual threat: the stain and the smell. This is because they contain uric acid, which can leave a lasting odour if you don't neutralise it properly. First, blot the area with a thick layer of paper towels to absorb as much as possible. Next, spray it with a 50/50 solution of white vinegar and water—the vinegar is crucial for breaking down that uric acid.
Blot the area dry with another clean cloth. Once it's dry to the touch, sprinkle a thick layer of baking soda over the spot. Let it sit for several hours (or even overnight) to draw out any lingering odours, then vacuum it up thoroughly. This two-punch approach tackles both the visual stain and the smell, which is vital for stopping your pet from making it a repeat performance. Mastering these little fixes is a huge part of learning how to clean upholstered furniture and keeping your home feeling fresh and welcoming.
The Finishing Touches: Drying, Deodorising, and Protecting Your Furniture
Right, you’ve put in the elbow grease and your furniture is looking much cleaner, but don't put your feet up just yet. These last few steps are absolutely crucial. They’re what will lock in that fresh, revived look and make sure all your hard work wasn’t for nothing.
Skipping the proper drying and protecting stage is a classic mistake. It often leads to musty smells or watermarks, which can ruin the finish and send you right back to square one. Think of this as the final polish that protects the fabric, gets rid of any lingering odours, and makes future clean-ups a doddle.
Why You Can't Rush the Drying Process
After a deep clean, your upholstery will naturally be damp. The mission now is to get it dry as quickly and as evenly as you can. If you leave it damp for too long, you’re practically rolling out the welcome mat for mildew, which leaves behind a stubborn musty smell that is a nightmare to get rid of.
Your best tool for this job? Airflow. If the weather is on your side, crack open a few windows to get a nice cross-breeze going. A simple standing fan aimed at the furniture will also work wonders and dramatically cut down the drying time.
A word of warning: never use direct heat. It’s tempting to grab a hairdryer or point a space heater at a damp patch, but this can be a disaster. Concentrated heat can shrink delicate fibres, cause colours to fade, and permanently wreck the fabric's texture. Gentle, steady air circulation is always the way to go.
Depending on the humidity in your home and how much water was used, it can take anywhere from 6 to 24 hours for your furniture to dry completely. You have to be patient and resist the urge to use it until it feels 100% dry to the touch. Plopping down on damp cushions will only cause them to compress and dry in an uneven, lumpy way.
How to Naturally Banish Lingering Odours
Sometimes, even after a really good clean, a faint smell might hang around—especially if you've been tackling pet messes or old food spills. This is the perfect moment to bring out a kitchen hero: baking soda. It's a fantastic natural deodoriser.
Once the furniture is bone dry, sprinkle a generous, even layer of baking soda all over the fabric. Don't be shy with it! You want a decent coating to get the job done. Let it sit for at least a few hours, or even overnight if you're dealing with a particularly stubborn pong.
The magic of baking soda is in its ability to absorb the odour-causing molecules that are trapped deep down in the fibres. When it’s had time to work, grab your vacuum, pop on the upholstery attachment, and go over every inch to suck it all up. What you’re left with is a genuinely fresh, clean scent, not something masked by an artificial spray.
Protecting Your Hard Work for the Future
After putting in all this time and effort, the last thing you want is for a spilled drink to ruin your newly cleaned sofa. This is where a little bit of proactive care can make all the difference. Applying a fabric protector spray creates an invisible shield on the fibres.
These sprays, which are usually based on fluoropolymers or silicone, work by repelling liquids. This gives you a precious window of time to blot up spills before they have a chance to sink in and become a proper stain.
Here’s how to do it right:
- Check compatibility: First and foremost, make sure the protector is suitable for your specific fabric type.
- Get some ventilation: The fumes from these sprays can be quite strong, so open all the windows to get the air moving.
- Apply a light, even coat: Hold the can about six inches from the surface and spray in a sweeping motion to cover the entire piece.
- Let it cure: The protector needs time to dry and bond with the fabric. Let the furniture air out for several hours before you use it again.
Taking this one final step is a real investment in your furniture’s lifespan, much like choosing quality pieces to begin with. You can read more about that philosophy in our article on the case for investing in forever homeware. A protected sofa isn't just a clean sofa—it's one that’s far easier to keep clean.
Your Upholstery Cleaning Questions Answered
Even with the best plan, you're bound to have a few questions when you start cleaning your furniture. Let's tackle some of the most common ones I get asked. Getting these sorted can give you that extra bit of confidence to do the job right.
This last section is all about clearing up those final doubts, from how often you should be cleaning to knowing when it's time to put down the sponge and call in a pro.
How Often Should I Clean My Upholstered Furniture?
For day-to-day upkeep, giving your furniture a good vacuum once a week is non-negotiable. It’s a simple step that stops dust and grit from grinding into the fabric fibres, which is what causes them to wear out prematurely.
When it comes to a proper deep clean, like the method we've just walked through, aim for every 12 to 18 months for furniture that gets a normal amount of use. But if your sofa is the centre of a busy family home with pets and kids, you’ll probably find it needs a deep clean every six months to keep it looking and smelling fresh.
Can I Use a Steam Cleaner on My Upholstery?
This is where you need to be really careful. Steam cleaners can be a great tool for tough, water-safe synthetics like microfibre (anything with a ‘W’ on the tag). The high heat is fantastic for sanitising and lifting deep-down grime from these specific fabrics.
But that same heat can spell disaster for natural fibres. It can shrink silk in an instant, flatten the beautiful pile on velvet, or bake a stain permanently into wool. You should never, ever use a steam cleaner on furniture with an ‘S’ or ‘X’ code. Always check the label and do a spot test somewhere hidden first.
It's a high-risk, high-reward method that can easily go wrong. Unless you are 100% certain your fabric can take the heat and moisture, you're much safer sticking with the gentler methods we've already covered.
What Is the Best Way to Remove Pet Hair and Odours?
Pet hair has a way of weaving itself into fabric, doesn't it? One of the best tricks I've found is to pop on a damp rubber glove and just wipe your hand across the surface. The friction makes the hair clump together into little balls, which are then dead easy to vacuum up. A simple window squeegee works wonders, too.
For those stubborn pet smells, baking soda is your secret weapon. After the fabric is completely dry, sprinkle a generous amount all over, leave it for at least an hour—or even overnight for really strong odours—and then vacuum it all up thoroughly.
When Should I Hire a Professional Instead of DIY?
Doing it yourself is brilliant for regular maintenance and for dealing with little spills as they happen. That said, there are absolutely times when calling a professional is the smartest, safest, and ultimately cheapest option.
Think about getting an expert in for:
- Delicate or expensive fabrics like silk, antique velvet, or any furniture that has that dreaded ‘X’ cleaning code.
- Large, stubborn stains that just won't budge, no matter what you've tried.
- When you're simply short on time or don't feel confident tackling a cherished or valuable piece of furniture yourself.
The demand for professional cleaners has shot up in the UK as more people realise the value of expert care. The British Cleaning Council reported that the industry contributed a staggering £66.9 billion to the economy in 2022. With over 75,565 cleaning businesses running in 2023, there's no shortage of skilled help when you need it. You can see more on the UK cleaning industry's growth on Policybee.co.uk.