When it comes to cleaning engineered hardwood, the golden rule is to be gentle. These floors aren't solid timber all the way through, which means your cleaning approach needs to be a bit more considered. The best and safest method is always a microfibre mop paired with a pH-neutral cleaner. It’s crucial to steer clear of excessive water, steam mops, and harsh chemicals like vinegar, as they can seriously damage the floor's delicate structure.
Getting to Know Your Engineered Hardwood
Before you grab any old mop, it’s worth understanding what makes engineered hardwood floors special. Unlike a solid plank of wood, your floor is built in layers. It has a beautiful, thin slice of real wood on the top—the bit you see and walk on—which is bonded to a super-stable core of plywood or high-density fibreboard.
This layered design makes the floor incredibly stable and less prone to warping than solid wood. However, that thin top layer of real wood is also its most vulnerable point. This is why aggressive cleaning methods are a definite no-go. Realising this is the first step to keeping your floors looking fantastic for years.
Why the Finish Matters So Much
Think of the finish on your floor as its bodyguard. It’s the first line of defence against spills, scuffs, and the general chaos of daily life. Most engineered floors come pre-finished with a tough polyurethane coating, while others might have a more natural-looking oil finish that soaks into the wood itself.
Figuring out which finish you have is key, as they need different care.
- Polyurethane Finish: This is the most common type, creating a protective barrier on the surface. You'll want a gentle, pH-neutral cleaner that won't strip this layer away. Anything too acidic or alkaline will dull the shine over time and weaken its protective qualities.
- Oil Finish: Oiled floors need specific cleaners that feed and nourish the wood without leaving a greasy film. Using the wrong stuff can dry out the timber or create a sticky build-up that just attracts more dirt.
The biggest mistake I see homeowners make is treating their engineered wood like it's a durable tile or laminate floor. Going at it with a steam mop or a homemade vinegar solution can cause a world of hurt, from the layers separating to a permanently milky or dull appearance.
Picking the right cleaning products is about more than just a quick shine; it's an investment in your floor's future. If you're thinking about flooring for other high-traffic areas, checking out some flooring ideas for kitchens can offer great insights into balancing style with durability. Ultimately, protecting your floor begins with understanding it.
Choosing the Right Cleaning Tools and Solutions
The secret to a fantastic clean isn't about having a cupboard full of fancy gadgets. It’s about choosing a few reliable tools that get the job done right without harming your beautiful floors.
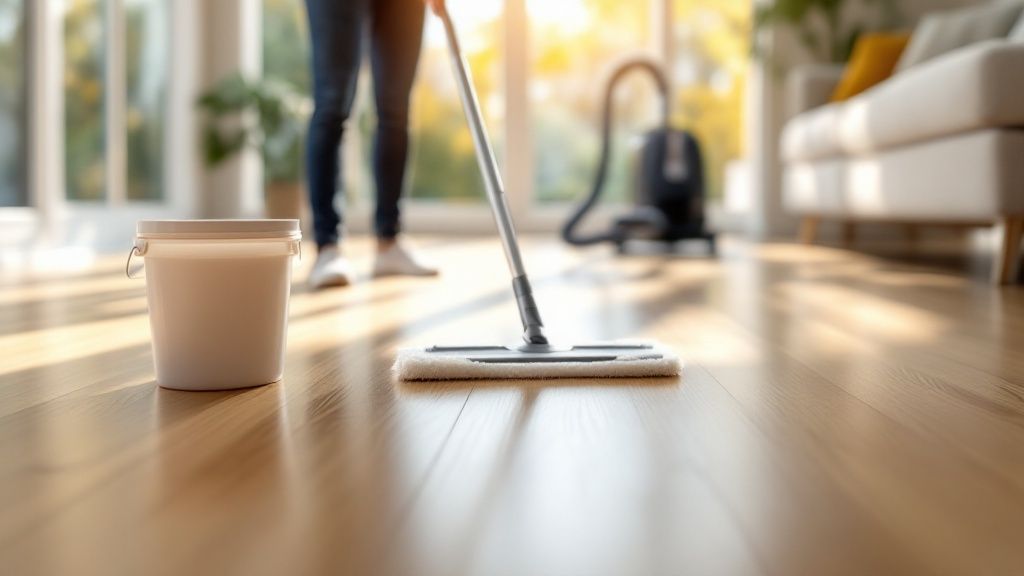
Honestly, your two best friends for engineered hardwood will be a vacuum cleaner (without the rotating beater bar engaged) and a high-quality microfibre mop. That's it. These simple items are your best defence against the damaging grit and grime that build up daily.
In the UK, we certainly love a good vacuum. Back in 2018, the vacuum cleaner market held a 25.36% revenue share of the floor cleaning equipment industry, a market that was projected to hit USD 818.6 million by 2025. It just goes to show how central a good vacuum is to keeping our homes in top shape.
To get started, let's assemble your simple but effective cleaning kit.
Your Engineered Hardwood Cleaning Toolkit
Here’s a quick checklist of the essentials. Stick to these, and you can't go wrong.
With these few items, you're fully equipped to handle anything your floors throw at you.
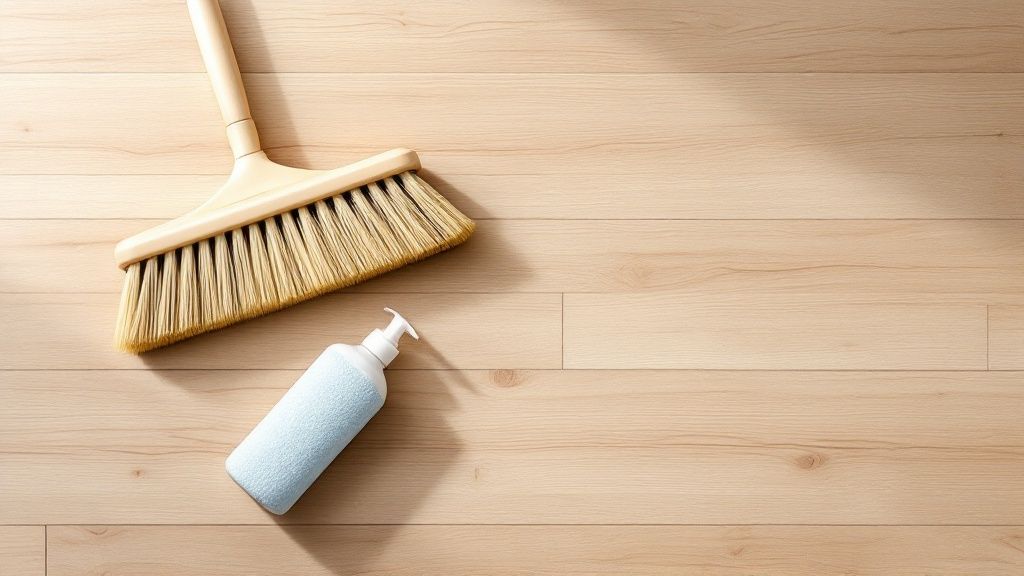
Selecting the Perfect Cleaner
When you're standing in the cleaning aisle, it's easy to get overwhelmed by promises of all-in-one wonder products. Ignore them. Your one and only goal is to find a pH-neutral cleaner specifically formulated for wood floors.
Anything else is a gamble. A cleaner that’s too acidic or alkaline will slowly eat away at the protective finish, leaving your lovely floor looking dull and making it vulnerable to stains and moisture damage.
A quick word of warning: you'll often see DIY cleaning recipes online suggesting a mix of vinegar and water. This is one of the worst things you can do for engineered hardwood. Vinegar is an acid, and it will methodically strip your floor's protective sealant, leading to costly and often irreversible damage.
Always check the product label for phrases like "safe for finished wood" or "pH-neutral." A quick scan before you buy can save you a lot of heartache down the road. For more great ideas on keeping your home in great nick, check out our handy home improvement tips.
What to Avoid at All Costs
Knowing what not to use is just as important as knowing what you should. Some very common household items and cleaning tools can cause serious, lasting damage to the delicate structure of engineered hardwood.
Make sure you keep these far away from your floors:
- Steam Mops: That intense mix of heat and moisture is a disaster for engineered wood. It can weaken the adhesives holding the layers together, causing them to separate, bubble, or warp.
- Soap-Based Cleaners: These almost always leave behind a sticky, dull film that, ironically, attracts even more dirt.
- Ammonia or Harsh Chemicals: Aggressive agents like ammonia will strip the finish right off and can even discolour the wood veneer itself.
- Excessive Water: Never, ever flood your floor. A slightly damp mop is all you need. Any puddles or pooling water can easily seep into the seams and damage the core from within.
A Practical Guide to Deep Cleaning Your Floors
With the right tools lined up, you’re all set to bring back that original warmth and lustre to your floors. Deep cleaning engineered wood isn't some complex chore, but it does pay to be methodical to protect that beautiful finish. It’s all about working smart.
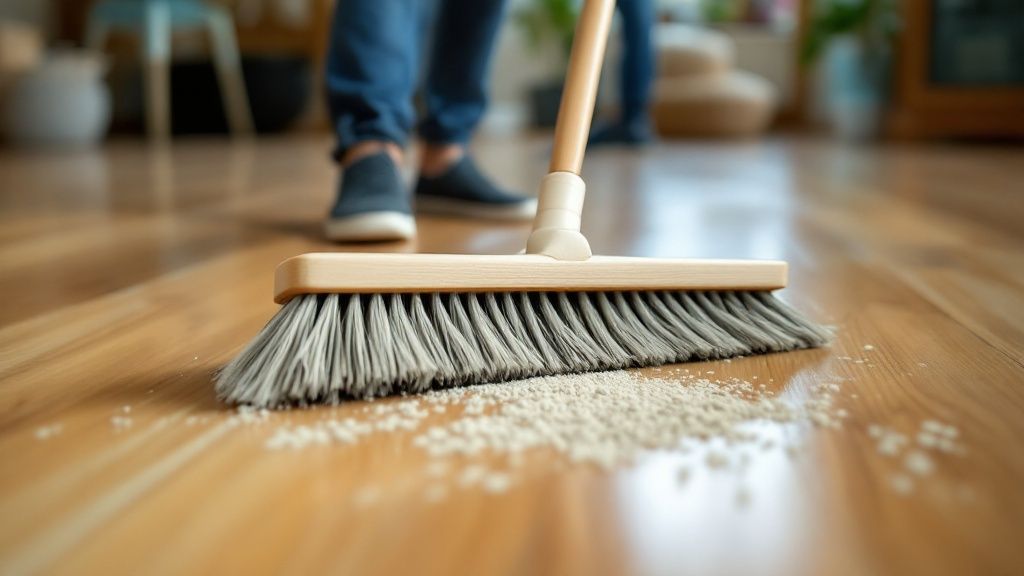
Before a drop of water touches your floor, you need to get rid of every last bit of loose dirt, dust, and grit. Trust me, skipping this part is like trying to mop with sandpaper. It's the number one cause of those tiny, surface-level scratches that dull the finish over time.
Get out your soft-bristled broom or your vacuum cleaner—making sure to use the hard floor head attachment. Give the entire floor a really thorough sweep or vacuum. I always make a point to get right into the corners, along the skirting boards, and under the sofa, as that’s where dust loves to congregate. This prep work is absolutely non-negotiable if you want a flawless result.
Mastering the Damp Mopping Technique
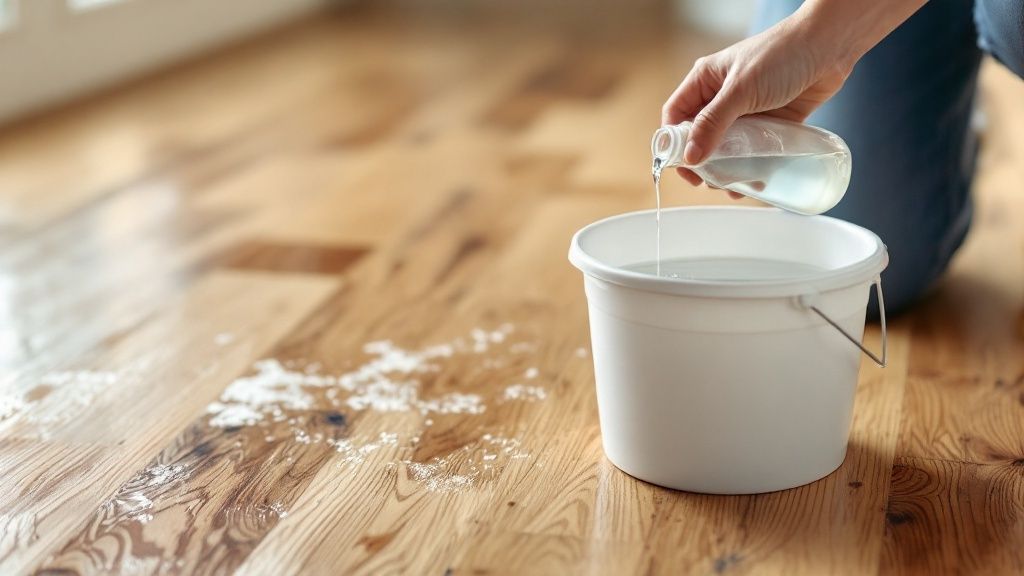
Now for the main event. When I say "damp mop," I really do mean it. Your microfibre mop pad should be wrung out so thoroughly that it feels barely moist to the touch. You should never, ever see trails of water left behind on the boards.
A fantastic little trick for controlling moisture is to use a spray bottle. Just lightly mist a small section of your floor (think one square metre at a time) with your pH-neutral wood cleaner. This simple step prevents you from accidentally oversaturating the surface and puts you in complete control.
Working in small, manageable sections is the key here. This focused approach means you won't miss any spots and, more importantly, it allows you to immediately wipe up any lingering dampness with a separate, clean microfibre cloth.
Pro Tip: Always mop in the same direction as the wood grain. It sounds simple, but this little detail helps to mask any faint streaks and works with the floor's natural texture for a much more professional-looking finish.
Tackling Stubborn Spots and Finishing Touches
Inevitably, you’ll come across a sticky patch or a scuff mark that needs a bit more attention. Resist the urge to start scrubbing aggressively. Instead, just apply a tiny amount of your cleaner directly onto the spot and let it sit for about 30 seconds.
Next, take a clean microfibre cloth and gently work on the mark using a circular motion. This focused technique almost always lifts the grime without needing the kind of harsh pressure that could harm the finish.
Once the entire floor is done, give it one final walk-through. Look for any remaining damp spots, paying close attention to the edges and seams between the planks, and dry them immediately. Proper maintenance is what keeps floors looking great; this means sweeping or vacuuming once or twice a week to stop abrasive dirt from building up, followed by a gentle damp mop when needed. You can find more in-depth advice by reading up on care and maintenance guidance on Akirby.co.uk.
The very last step? Just let your floor air-dry completely before you walk on it. Now you can stand back and admire your beautifully restored surface.
Handling Spills, Scuffs, and Everyday Messes
Even with the most diligent cleaning routine, life happens. A knocked-over glass of wine or muddy paw prints are just part of a well-lived home. The real secret to keeping your engineered hardwood looking its best isn't about preventing messes, but about how quickly you deal with them.
When it comes to spills, speed is your best friend. Moisture is the number one enemy of engineered wood, so you absolutely cannot let any liquid sit on the surface for long.
Grab a clean, dry microfibre cloth and blot the spill right away. Always work from the outside of the spill inward; this stops you from accidentally spreading it further. After you've soaked up the bulk of the liquid, go over the spot with a separate, slightly damp cloth, and then—this is crucial—dry it completely. This simple, rapid response prevents moisture from sneaking into the seams and causing the wood's core layers to swell or warp.
Buffing Away Scuffs and Marks
Scuff marks from shoes or furniture are another common headache, but you'd be surprised how easily they come off without reaching for harsh chemicals. For most light scuffs, a simple tennis ball is your secret weapon.
Seriously, just take the tennis ball and rub it firmly over the mark. The felt surface is usually abrasive enough to lift the scuff right off the floor’s finish without causing any damage. If you're dealing with a more stubborn mark, a small amount of your usual pH-neutral cleaner on a soft cloth, applied with a bit of gentle, circular elbow grease, should do the trick.
Remember, the goal is always to treat the mark, not attack the finish. Never use steel wool, scouring pads, or abrasive powders, as these will cause permanent scratches and dull the protective layer of your beautiful floor.
A little bit of prevention and a quick reaction make all the difference. It's the same principle you'd apply to other projects around the house—protecting a cherished piece of furniture before you start a big job, for example. In fact, if you're taking on other DIY tasks, our guide on how to paint old wood furniture shares some excellent tips on proper preparation that can save you a lot of hassle later on.
Smart Habits to Keep Your Floors Looking New
Knowing how to clean your engineered hardwood is one thing, but stopping the damage before it even starts? That’s the real secret to floors that look fantastic for years. It all comes down to a few simple, proactive habits that protect your investment and save you a lot of hassle down the road.
Think about it – most scratches and dinks come from furniture. The fix is incredibly simple. Pop some soft felt pads on the bottom of every chair leg, table, and sofa. I can't stress this enough; it's a non-negotiable step. Just remember to check on them every few months, as they can pick up grit or wear thin over time.
Create a Defence at Your Doorstep
Your entryway is the frontline in the war against dirt. A good doormat is your best soldier, trapping grit and moisture before it gets a chance to scratch up your floors. For best results, use a double-mat system: a tough, coarse one outside to scrape off the worst of it, and a softer, absorbent mat inside to catch what's left.
In high-traffic areas like hallways or the spot right in front of the sofa, area rugs are a lifesaver. They take the brunt of the daily footfall while adding a bit of warmth and style. If you fancy getting creative, you can find some great inspiration on how to layer rugs for a really polished look.
Control the Climate Inside
Engineered wood is designed to be stable, but it's still a natural material. That means it responds to the environment around it. Big swings in humidity can cause the planks to swell or shrink, which might lead to small gaps or even warping over the years.
Believe it or not, one of the best things you can do for your floor is to maintain a steady indoor humidity level, ideally somewhere between 30% and 50%. A humidifier during the dry winter months and a dehumidifier when it gets muggy in the summer can make a world of difference.
Finally, a few small tweaks to daily life can go a long way:
- Pet Pedicures: Keep your furry friends' nails trimmed. It’s a simple way to prevent a whole lot of accidental scratches.
- Shoe Sensibility: Stiletto heels concentrate a surprising amount of force into a tiny point, which can easily dent wood. It's best to leave them at the door.
- Lift, Don't Drag: When you need to move a piece of furniture, always get help to lift it. Dragging it is a recipe for a long, ugly scratch, even with pads on.
These little preventative steps are just as crucial as any cleaning you’ll ever do.
Common Questions About Cleaning Engineered Hardwood
https://www.youtube.com/embed/did-T8pkKK4
Even with a solid cleaning plan, a few questions always seem to pop up. Let’s walk through some of the things I get asked most often by homeowners, so you can feel completely confident about looking after your engineered hardwood floors.
How Often Should I Mop My Engineered Floors?
This really comes down to how much life your floors see day-to-day. For the average home, a good damp mop every one to two months is plenty to keep them looking their best. The real secret is the daily sweep or weekly vacuum—getting that abrasive grit off the floor is what prevents those tiny, dulling scratches in the first place.
Of course, high-traffic spots like the kitchen or the main hallway might need a bit more attention, maybe a quick clean every few weeks. Just be careful not to overdo it. Over-mopping is a real risk, and too much moisture, too often, can cause more problems than it solves.
Is It Ever Okay to Use a Steam Mop?
Let me be direct here: no. I can’t stress this enough—never use a steam mop on engineered hardwood. The intense heat and high-pressure steam are a perfect storm for damaging your floors.
That moisture gets forced deep into the seams between the planks, attacking the adhesive that holds the layers of wood together. The result is often serious and irreversible damage. You could be looking at:
- Delamination: This is when the beautiful top veneer starts to peel away from the core layers.
- Warping and Bubbling: The planks can become distorted and uneven, creating a bumpy surface.
- Finish Damage: The protective top coat can turn cloudy or break down completely.
Your best friend for this job is a microfibre mop that's just barely damp. It’s safer and, frankly, all you need.
Can I Use Vinegar and Water to Clean?
I know it’s a go-to cleaning hack for just about everything else in the house, but please keep vinegar away from your engineered hardwood. Vinegar is an acid, and even when diluted, it will slowly eat away at the polyurethane finish protecting your floors.
Think of it this way: using an acidic cleaner like vinegar is like stripping the armour off your floor. It leaves the wood exposed and much more vulnerable to stains, scuffs, and water spots. A pH-neutral cleaner is the only safe bet.
Over time, this erodes the finish, leaving your floors looking dull and tired. Always stick with a cleaner specifically formulated for wood flooring to maintain its protective layer and beautiful sheen.
What Is the Best Way to Fix Minor Scratches?
For those little surface scuffs, you can often just buff them out with a dry microfibre cloth. I've even seen a clean tennis ball work wonders on lighter marks! If you’re dealing with tiny scratches that haven’t broken through the finish, a touch-up marker or a repair kit from the flooring manufacturer can blend them in almost invisibly.
But if you have a deeper scratch—one that’s gone right through to the raw wood—it’s time to call in a flooring professional. Trying to fix a major gouge yourself can often end up making it look worse. Keeping your floors in great shape is always a plus, especially if you're thinking about moving. For more tips on making your space shine, check out our guide on how to stage a home for sale.