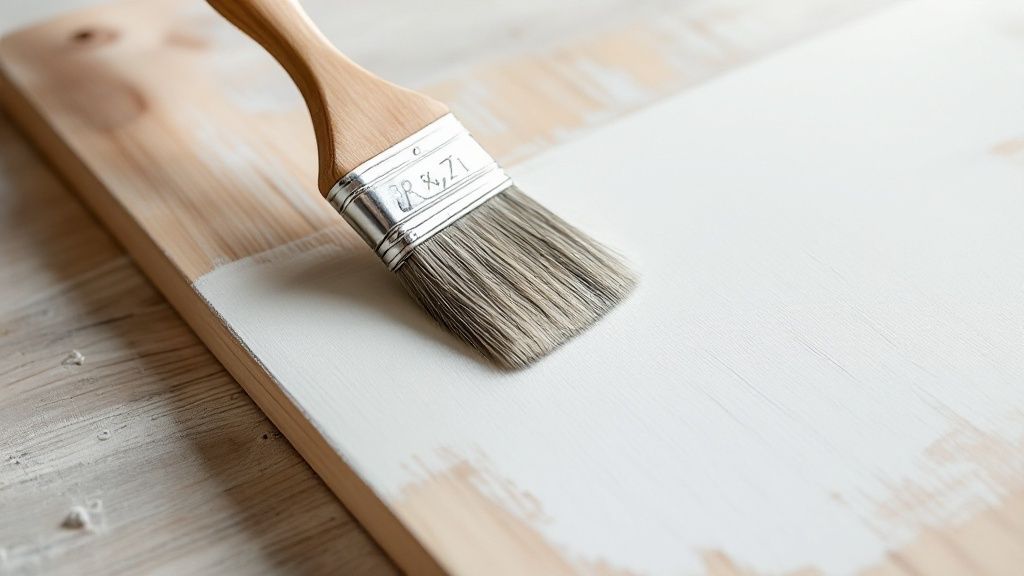
If you want to learn how to paint wood properly, you have to realise that the real work starts long before you even open a tin of paint. It all comes down to the prep. Getting this right means thoroughly cleaning the surface, patching up any dings with wood filler, giving it a good sand to create a key for the primer, and then getting rid of every last speck of dust.
This groundwork is what makes or breaks the final result, ensuring your paint sticks properly and gives you a durable, professional-looking finish.
Laying the Groundwork for a Perfect Paint Job
The secret to a flawless finish isn't in the fanciest brush or the most expensive paint; it's earned through good, old-fashioned prep work. I've seen it time and time again—the most common mistake people make is rushing this part. Cutting corners here is a surefire way to end up with peeling, chipping, and a patchy look that just ruins all your effort.
Think of it like building a house. You wouldn't build on a dodgy foundation, would you? It's the same principle with painting wood. Proper prep gives the primer and paint a clean, solid surface to grab onto. This bond is what gives your project its staying power, whether it’s a kitchen table that sees daily abuse or a simple picture frame. The good news is, with a bit of patience, you can get a finish that looks like it came straight from a pro’s workshop.
Start With a Deep Clean
Before you even touch a piece of sandpaper, the wood needs a proper wash. You'd be amazed at the amount of grease, dust, and general grime that builds up on furniture and trim over the years. This invisible layer is a paint job's worst enemy.
For something like a greasy kitchen cabinet, you'll need a dedicated degreasing cleaner. But for an old chair that's been gathering dust in the loft, a simple mix of sugar soap and water will do the trick. Give the surface a firm wipe-down, then go over it again with a clean, damp cloth to get rid of any residue. Crucially, let the wood dry completely before you do anything else.
Fixing Flaws for a Smooth Canvas
Now’s the time to play detective. Get up close and inspect the wood for any dings, scratches, or old nail holes. These little imperfections might not look like much now, but they'll stick out like a sore thumb once they're covered in a fresh coat of paint.
Grab some high-quality wood filler and a flexible putty knife. Press the filler firmly into any damaged spots, and don't be afraid to overfill it slightly—most fillers shrink a bit as they dry.
The real aim here isn't just to plug a hole; it's to make the repair totally invisible. A good fill, once sanded and painted, should blend in so perfectly you'd never know it was there.
Let the filler cure completely (always check the tin for drying times) before moving on to the most important step of all.
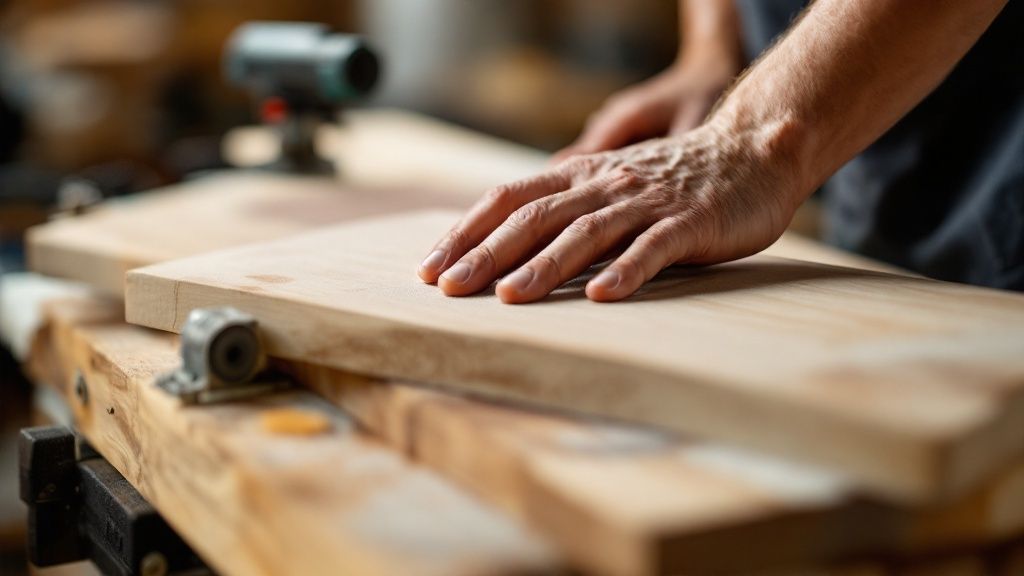
Why Sanding is Non-Negotiable
Sanding is absolutely essential for a finish that lasts. It does two critical things: it smooths out your filler repairs and any rough patches, and more importantly, it creates a microscopic texture—what we call a "key"—for the primer to really bite into. Without this key, your paint is just sitting on the surface, ready to peel or chip at the slightest knock.
Choosing the right sandpaper grit is key:
- For heavy-duty stripping (80-grit): Use this coarse paper to power through old, stubborn layers of paint or varnish.
- For general prep (120-grit): This is your all-rounder. It's perfect for scuffing up most surfaces, whether they're already painted or varnished.
- For a fine finish (220-grit): Use this for a final, light sanding after your primer is dry or between topcoats to get that ultra-smooth feel.
Always sand with the grain of the wood to avoid leaving ugly scratches. Once you're done, get the hoover out and then wipe the entire surface down with a tack cloth. This will pick up every last particle of dust, leaving you with a perfectly prepped surface that's ready for primer.
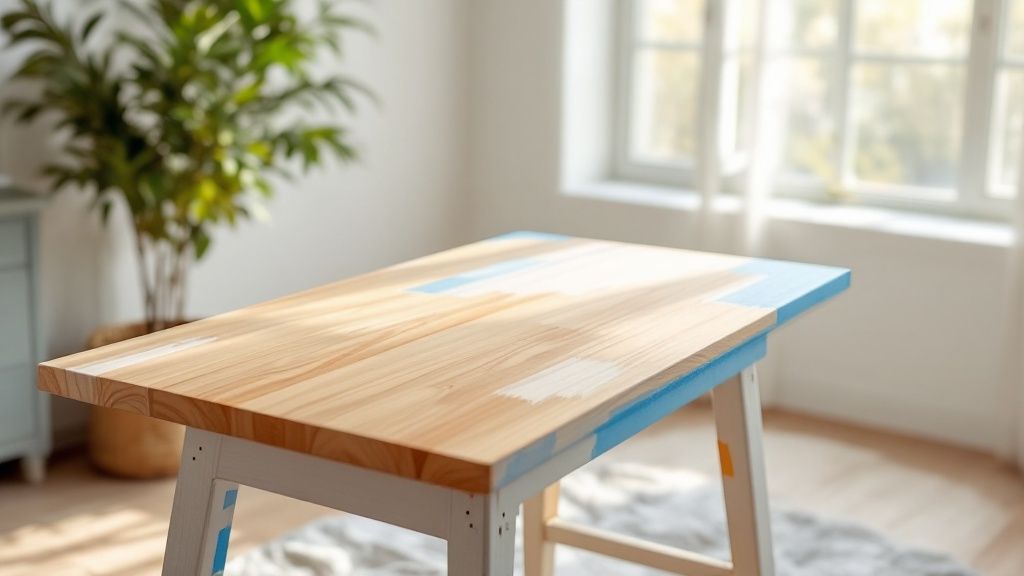
Choosing the Right Primer and Paint for Your Wood
https://www.youtube.com/embed/4awxUEzxjcM
So you’ve done all the hard prep work, and now you’re standing in the paint aisle, staring at a wall of cans. It can feel a bit overwhelming, but picking the right primer and paint is actually pretty straightforward. The secret is simply matching the product to your project.
Think of primer as the foundation of your paint job—it's the crucial link between the wood and your final colour. I’ve seen so many projects ruined because someone decided to skip this step. A good primer doesn't just help the paint stick better; it gives you a much richer, more even colour and, most importantly, it blocks nasty stains from bleeding through.
Getting to Grips with Primer
Not all primers are cut from the same cloth. You'll generally come across three main types: water-based, oil-based, and shellac-based. Each has its own job to do when you're learning how to paint old wood furniture.
Water-Based (Latex) Primer: This is my go-to for most interior jobs. It has low fumes, dries nice and quickly, and you can clean your brushes with just soap and water. It’s perfect for furniture that isn't going to get a lot of knocks.
Oil-Based Primer: If you’re painting anything outdoors, kitchen cabinets, or a high-traffic piece like a hallway table, you need something tougher. Oil-based primers are the workhorses here. They give incredible adhesion and create a really durable base.
Shellac-Based Primer: This one is your secret weapon for problem pieces. Got some knotty pine that keeps weeping resin? Or maybe you're trying to cover up some old water stains or smoke damage? Shellac-based primer is non-negotiable. It creates a solid barrier that nothing can get through.
I once tried to paint a pine bookshelf for my son’s room without a proper stain-blocking primer. Within a few months, ugly yellow blotches from the knots started appearing right through the fresh paint. A coat of shellac primer would have stopped that dead in its tracks.
Making Sense of Paint Types and Sheens
With your surface primed and ready, it’s time for the fun part—the colour. Your main choice for wood will be between water-based (latex) and oil-based paints.
Water-based paints are brilliant for beginners. They dry fast and, again, cleanup is a breeze. They’re a great shout for decorative pieces or anything that won't see too much action. Oil-based paints, on the other hand, cure to a much harder, more resilient finish. This makes them the champion for things that take a beating, like tabletops or front doors, though you will need white spirit to clean your brushes.
The sheen you pick is just as important as the colour itself. It dramatically affects the look, feel, and durability of your finished piece.
To make this easier, here’s a quick-reference table to guide you through choosing the right primer and paint for your project.
Paint and Primer Selection Guide for Wood
Choosing the right combination from this table will set you up for success and ensure your hard work pays off with a finish that lasts.
Finally, let’s talk sheens. Each one has a distinct personality:
- Matte/Flat: Has no shine at all. It’s fantastic for hiding imperfections on rustic pieces but can be a bit tricky to clean. Best for low-traffic items.
- Eggshell: My personal favourite for most furniture. It has just a whisper of a sheen—a soft, low-lustre look that’s more washable than matte.
- Satin: This is the workhorse for most homes. It offers a lovely, velvety finish that’s tough enough for kitchen cabinets, doors, and kids’ furniture.
- Semi-Gloss: A step up in shine, this finish is incredibly durable and easy to wipe down, making it perfect for trim, windowsills, and bathroom vanities.
- High-Gloss: This is a bold, dramatic choice. It delivers a super shiny, almost liquid-like finish that’s extremely tough but will highlight every single flaw underneath. Use it for a statement piece.
So, for those kitchen cabinets, a satin finish gives you that perfect mix of a subtle glow and the toughness to handle daily wipe-downs. For a chic bookshelf in the living room, an elegant eggshell would look beautiful. Making these smart choices from the start is what separates a good paint job from a great one.
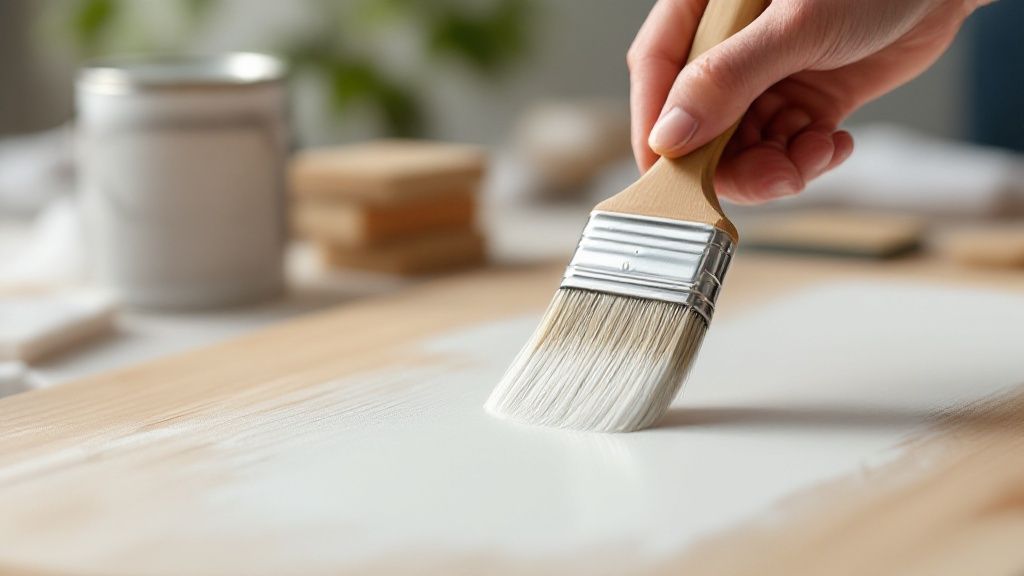
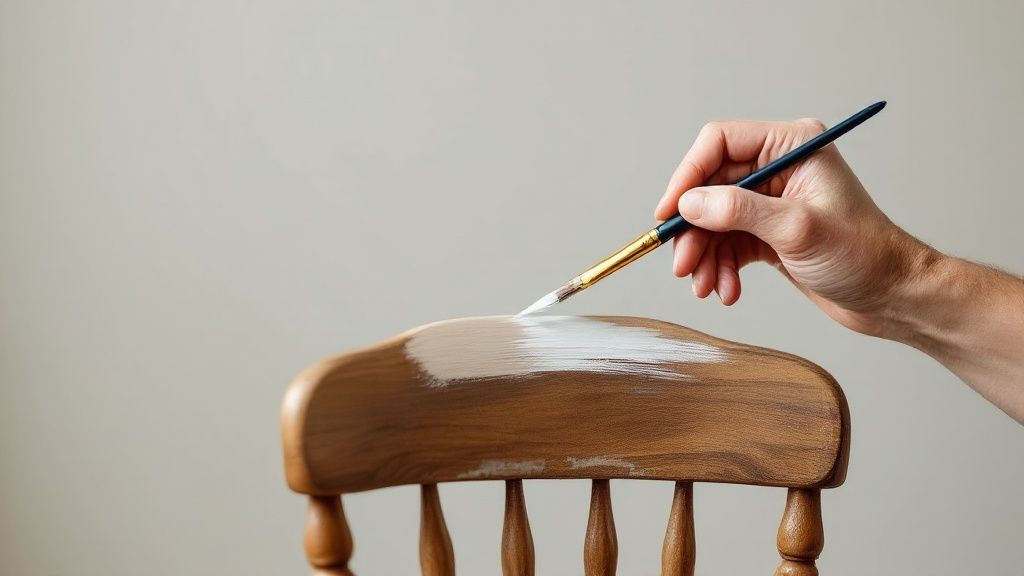
Mastering Your Painting Technique
With your surface perfectly prepped and primed, this is where the magic really happens. Learning how to paint wood properly is less about speed and more about finesse. The technique you use, and the tools you choose, will be the difference between a finish that looks a bit homemade and one that looks like it came straight from a professional workshop.
Deciding between a brush and a roller isn't just a matter of preference; it’s a strategic choice. For big, flat areas like a tabletop or a door, a small foam roller is your best friend. It helps you lay down a thin, even coat of paint quickly, avoiding the brush marks that can so easily spoil larger surfaces.
But when you're dealing with anything detailed – think chair legs, decorative trim, or the panels on a cabinet door – a high-quality angled brush is non-negotiable. The angled bristles give you far more control for cutting in along edges and navigating those fiddly corners.
Achieving a Brush-Mark-Free Finish
The secret to a beautifully smooth surface lies in your brushstroke. A common mistake is to overload the brush; you only need to dip the first third of the bristles into the paint. This simple habit keeps paint out of the ferrule (the metal part) and gives you much cleaner control.
Always apply the paint using long, light, even strokes, following the direction of the wood grain. The first coat is all about getting coverage, but the second coat is where you aim for perfection. This is where a professional painter’s trick called 'tipping off' is invaluable.
After applying your final coat to a section, take a clean, lightly-loaded brush and gently glide the very tip of it over the wet paint in one long, continuous stroke. This simple action levels the paint, erasing any minor brush marks and leaving a glass-smooth surface.
Painting Tricky and Detailed Areas
Let's be honest, complex shapes like spindles or ornate picture frames can feel a bit daunting. They seem to be magnets for drips and pools of paint. The trick is to work methodically and always use less paint on your brush than you think you need.
Here are a few pointers for navigating those challenging spots:
- Tackle Edges and Details First: Get the awkward bits out of the way first. Use a small, angled brush to paint inside corners and detailed areas. This lets you be precise without worrying about smudging a freshly painted flat surface nearby.
- Use a 'Dry Brush' Technique: For any raised details, dip your brush lightly in the paint, then wipe most of it off on the side of the tin. Gently brushing over the details will deposit just enough colour without flooding all the little crevices.
- Constantly Check for Drips: As soon as you finish a section, look back over your work from a different angle. It’s amazing what you’ll spot. Catching and smoothing out a drip while the paint is still wet is infinitely easier than sanding it down later.
By pairing the right tools with these specific methods, you can confidently paint any piece of wood, no matter how intricate. The colour you choose also plays a massive role in the final look. If you’re hunting for inspiration, you can find some brilliant paint colour ideas for your living room that work just as well for furniture and trim.
Ultimately, patience is your greatest asset here. Take your time, and the results will speak for themselves.
How to Achieve a Durable and Professional Finish
This is it, the final stretch. These last few steps are what really separate an amateur job from something that looks truly professional. I know it’s tempting to start using your newly painted piece right away, but a little patience here is what protects all your hard work and makes the finish last.
One of the biggest mistakes I see people make is mixing up drying time and curing time. Your paint might feel dry to the touch within a few hours, but it hasn’t fully hardened yet. Curing is the real magic; it's a chemical process where the paint settles, hardens, and becomes as tough as it’s going to get. This can take days, sometimes even weeks.
Honestly, rushing this stage is the quickest way to ruin your project. If you start using a freshly painted table too soon, you’ll end up with dents, scuffs, and a sticky surface that’s a nightmare to fix. You really have to give your project time to cure properly—it's non-negotiable for a lasting finish.
Knowing When to Add a Topcoat
So, do you need a topcoat? Well, it depends. For anything that’s going to get a lot of use, I’d say it’s a must. The trick is to match the sealant to what you’re using the piece for.
- For durability: If you're painting a kitchen table, a desk, or anything that will see daily action, a water-based polyurethane varnish is your best friend. It creates a hard, clear film that’s brilliant at resisting scratches and spills.
- For decoration: On the other hand, for something purely decorative like a picture frame or a side table that just holds a lamp, a soft furniture wax is a great choice. You just rub it on with a cloth and buff it to a lovely, mellow sheen. It deepens the colour without adding that thick protective layer.
It’s no surprise that people are leaning towards tougher finishes. The European wood coatings market is expected to grow by about 5.6% each year between 2025 and 2030, and it's these super-durable coatings leading the charge.
The Secret to a Silky-Smooth Surface
Want that impeccably smooth, almost factory-like finish? The pros have a simple trick up their sleeves: a very light sand between coats of paint.
Once your first coat is completely dry, grab a piece of very fine-grit sandpaper—I’m talking 220-grit or even higher—and just gently glide it over the surface. The goal isn't to remove any paint. You’re just knocking down any tiny specks of dust or faint brush marks. It only takes a couple of minutes, but it makes a world of difference to how the final piece feels.
After that quick sand, wipe away every bit of dust with a tack cloth before you apply your final coat of paint. This little bit of effort is what ensures your last layer goes on flawlessly, leaving you with a surface that feels as good as it looks. Truly embracing https://www.sprucecollective.co.uk/journal/the-power-of-paint is all about mastering these small but crucial details.
Troubleshooting Common Wood Painting Problems
Even when you think you’ve done everything right, sometimes paint just doesn't cooperate. It’s frustrating, but don’t panic. Almost every common wood painting problem has a fix, and you can usually trace the headache back to one of three things: moisture, shoddy prep work, or just being a bit too impatient.
Seeing your fresh paint start to bubble or peel is a gut-wrenching moment. It’s a tell-tale sign that the paint just couldn’t get a proper grip on the surface. More often than not, this is down to trapped moisture, a bit of leftover grease, or skipping that crucial sanding step. A little detective work now will stop it from happening all over again.
Fixing Peeling and Bubbling Paint
If you’ve got peeling or blistering, your first job is to get rid of the faulty paint. Grab a scraper and gently lift away all the loose bits until you find a solid, well-stuck edge.
Next, you'll want to feather the edges of the remaining paint with some fine-grit sandpaper. This creates a really smooth, gradual transition from the patched area to the rest of the surface, which is key for a seamless finish. Once it’s smooth, give the exposed wood a thorough clean, let it dry completely, and then spot-prime the patch before repainting.
Peeling paint is a symptom, not the disease. You have to fix the underlying issue—whether it's damp, dirt, or grease—before you even pick up a paintbrush again. Otherwise, you’re just wasting your time.
Dealing with Brush Marks and Drips
Ah, the classic brush marks and drips. They’re usually a dead giveaway that the paint went on too thick or that you were using the wrong brush or roller for the job. Luckily, they're pretty straightforward to sort out once the paint has fully cured.
For a stubborn drip, carefully slice the worst of it off with a sharp blade, then sand the spot until it’s perfectly smooth. If you’re dealing with general brush strokes across the surface, a light sanding with fine-grit sandpaper will knock them back. Just be sure to wipe away every speck of dust with a tack cloth before applying one last, thin topcoat. A quality brush or a mini foam roller can make all the difference here.
For more simple ways to get a professional finish on your projects, have a look at our other home improvement tips.
Preventing Tannin Bleed-Through
Ever painted a lovely piece of pine or oak a brilliant white, only to find ugly yellow or brownish stains creeping through weeks later? That's tannin bleed-through. It's a natural oil found in certain woods that can work its way through water-based paints.
The only way to stop it is to create a bulletproof barrier. You'll need to sand the stained area back, clean it up, and then apply a shellac-based primer directly over the stains. This type of primer creates a seal that tannins simply can't get through.
This is an absolutely vital step, especially when you consider that the UK's industrial coatings market was valued at around USD 4.99 billion in 2024. A huge chunk of that goes into high-end wood finishes where something like bleed-through is a complete deal-breaker. You can find out more about the UK industrial coatings market on Grand View Research.
Frequently Asked Wood Painting Questions
Even with the best guide in hand, a few questions always crop up when you’re about to paint wood. It's totally normal to have a few last-minute wobbles before you get the brush wet. We get asked these all the time, so let's clear up some of the most common queries to get you started with confidence.
Getting these details right from the outset can save you a world of headaches later on.
Do I Really Have to Sand Wood Before Painting?
Look, I know it's the part everyone wants to skip, but sanding is almost always worth the effort for a durable, professional-looking finish. It does two crucial things: first, it creates a 'key' by roughing up the surface, giving the primer something to really grab onto. Second, it smooths away minor bumps and dings for that flawless look we're all after.
If you're painting over a glossy varnish or an old coat of paint, sanding is absolutely essential. Without it, your new paint will likely just sit on top and peel away over time.
The only time you might get away with it is if you're using a specific 'no-prep' or chalk-style paint. Even then, I'd still recommend a quick scuff with some fine-grit sandpaper. It’s a small step that makes a big difference to how long your hard work lasts.
How Many Coats of Paint Should I Put on Wood?
As a general rule, you should plan for one coat of a good quality primer, followed by two coats of your chosen paint. Think of the primer as the foundation for your project. It seals the wood, blocks stains from bleeding through, and ensures your paint sticks properly.
Your first coat of paint gets the colour down, but don't be surprised if it looks a bit patchy or thin.
The second coat is where the magic really happens. This is what gives you that rich, solid colour and provides the tough, protective layer that will stand up to everyday life. For some tricky jobs, like painting a very light colour over dark, moody wood, you might find a third coat is needed to get that perfect, even coverage.
What’s the Absolute Fastest Way to Paint Wood Furniture?
If speed is your main goal, nothing beats a paint sprayer. It's easily the fastest way to get an impeccable finish, especially on furniture with fiddly bits like spindles, latticework, or detailed carvings. A sprayer lays down a perfectly even coat in minutes and leaves behind zero brush marks. The trade-off? You’ll spend more time masking off everything you don't want to paint, and there’s a bit of a learning curve to get the hang of it.
If a sprayer isn't on the cards, your next best bet is a tag-team approach. Grab a small foam roller for the big, flat surfaces and a quality angled brush for cutting in around the edges and tackling the details. This combo is miles faster than just using a brush and still gives a beautifully smooth result.
For more inspiration on using paint to transform your space, have a look at our guide on creating a stylish home bundle edition with beautifully coordinated colours.