Before you even think about plant catalogues or dream up the perfect patio, the first, most crucial job is to get to know your garden intimately. A successful layout isn’t born from grand designs on paper; it starts with a practical audit of what you’re actually working with. This groundwork is the secret to a garden that thrives, not just survives, and it’ll save you a world of heartache and expense down the line.
Your Starting Point: The Essential Garden Audit
Think of yourself as a detective for a day. Your mission? To uncover the unique character of your outdoor space. A garden isn’t one uniform patch of land; it’s a collection of smaller zones, each with its own personality. Getting a handle on these quirks is the foundation for every single decision you’ll make, from where to plant a rose bush to the best spot for your morning cuppa.
This initial investigation is all about working with nature, not fighting against it. Let’s get started.
Tracking the Sun's Journey
Sunlight is, without a doubt, the single most important factor. It dictates what you can grow and where. A sun-loving tomato plant will sulk in deep shade, while a delicate fern will get completely scorched in the baking afternoon sun.
To figure this out, you just need to spend a day observing. Grab a notepad and sketch a rough map of your garden. Then, check in a few times during the day to see where the light falls.
- Morning Sun (East-facing areas): Where does the light hit first? This gentle morning sun is ideal for many plants that wilt in intense heat.
- Midday Sun (South-facing areas): Pinpoint the spots that get blasted with direct sun, usually between 10 am and 4 pm. This is your prime real estate for sun-worshippers like Mediterranean herbs, vegetables, and vibrant flowers.
- Afternoon Shade (West-facing areas): Watch where the shadows from your house, fences, or large trees fall later in the day. This shade can provide a welcome bit of relief for plants.
- Full Shade (North-facing areas): Identify any areas that get little to no direct sun at all. These spots are often cooler and hold more moisture, making them perfect for a whole different palette of plants.
Once you’re done, you can colour-code the different zones on your sketch. This simple sun map is one of the most valuable tools you'll create.
Understanding Your Soil
The soil is your garden's lifeblood. Knowing what it’s made of is key to choosing plants that will actually be happy there. You can get a surprisingly good idea with a simple DIY "jar test".
Just dig down a bit, fill a large glass jar about halfway with soil, and top it up with water. Give it a really good shake, then leave it to settle for 24 hours. You'll see distinct layers form, showing you the ratio of sand, silt, and clay in your soil.
A classic mistake is trying to fight the soil you have. It’s far easier and more sustainable to either choose plants that love your soil type or to improve it in specific, contained areas like raised vegetable beds.
Heavy clay soil, for example, is rich in nutrients but can be a nightmare to dig and gets waterlogged. Sandy soil drains in a flash but struggles to hold onto water and food. Loam, of course, is the perfect balance every gardener dreams of. Once you know what you’ve got, you can work with it. If you need a hand getting your beds ready, our guide on how to prepare soil for planting has you covered.
Spotting Microclimates
Even in a small UK garden, you’ll find little pockets where the conditions are slightly different. We call these microclimates, and spotting them can unlock all sorts of hidden potential.
Keep an eye out for places like:
- A sheltered, south-facing wall that soaks up the sun's heat, creating a warm spot for tender plants.
- A low-lying area where frost seems to settle last in the spring.
- A windy corner that acts like a wind tunnel, drying out soil and stressing plants.
- The 'rain shadow' right up against the house, under the eaves, where the soil is often bone dry.
By taking the time to audit the sun, soil, and these subtle microclimates, you're gathering the essential intel you need for a smart, sustainable, and beautiful garden. This isn't just about preventing problems—it’s about discovering opportunities to create a space that really sings.
Defining Your Garden's Purpose and Style
Before you fall down a rabbit hole of plant catalogues and paving samples, let's pause. The most important question to ask yourself is a simple one: why do you want this garden? A beautiful space that doesn't actually fit into your life will end up being something you just look at through the window, not a space you truly live in.
Getting this right from the start is about aligning your outdoor space with your real life. When you nail the 'why', every decision that follows—from choosing materials to planning your planting—suddenly becomes much clearer and more purposeful.
What Do You Actually Need From Your Garden?
Think about how you want to feel and what you want to do out there. Is this going to be a bustling hub for family chaos, or is it a quiet retreat just for you? There are no right or wrong answers, but being honest with yourself now will save a lot of head-scratching and costly changes down the line.
Consider what your garden's main job will be:
- A Family Hub: Do you need a tough, hard-wearing lawn for kids' games? A safe spot for a climbing frame? And somewhere to shove all the toys at the end of the day?
- An Entertainer's Dream: Is a big patio for dining, an outdoor kitchen, or maybe a cosy fire pit for late-night chats at the top of your list?
- A Productive Patch: Are you dreaming of raised beds overflowing with veg, a greenhouse for extending the growing season, or just a little herb garden right by the back door?
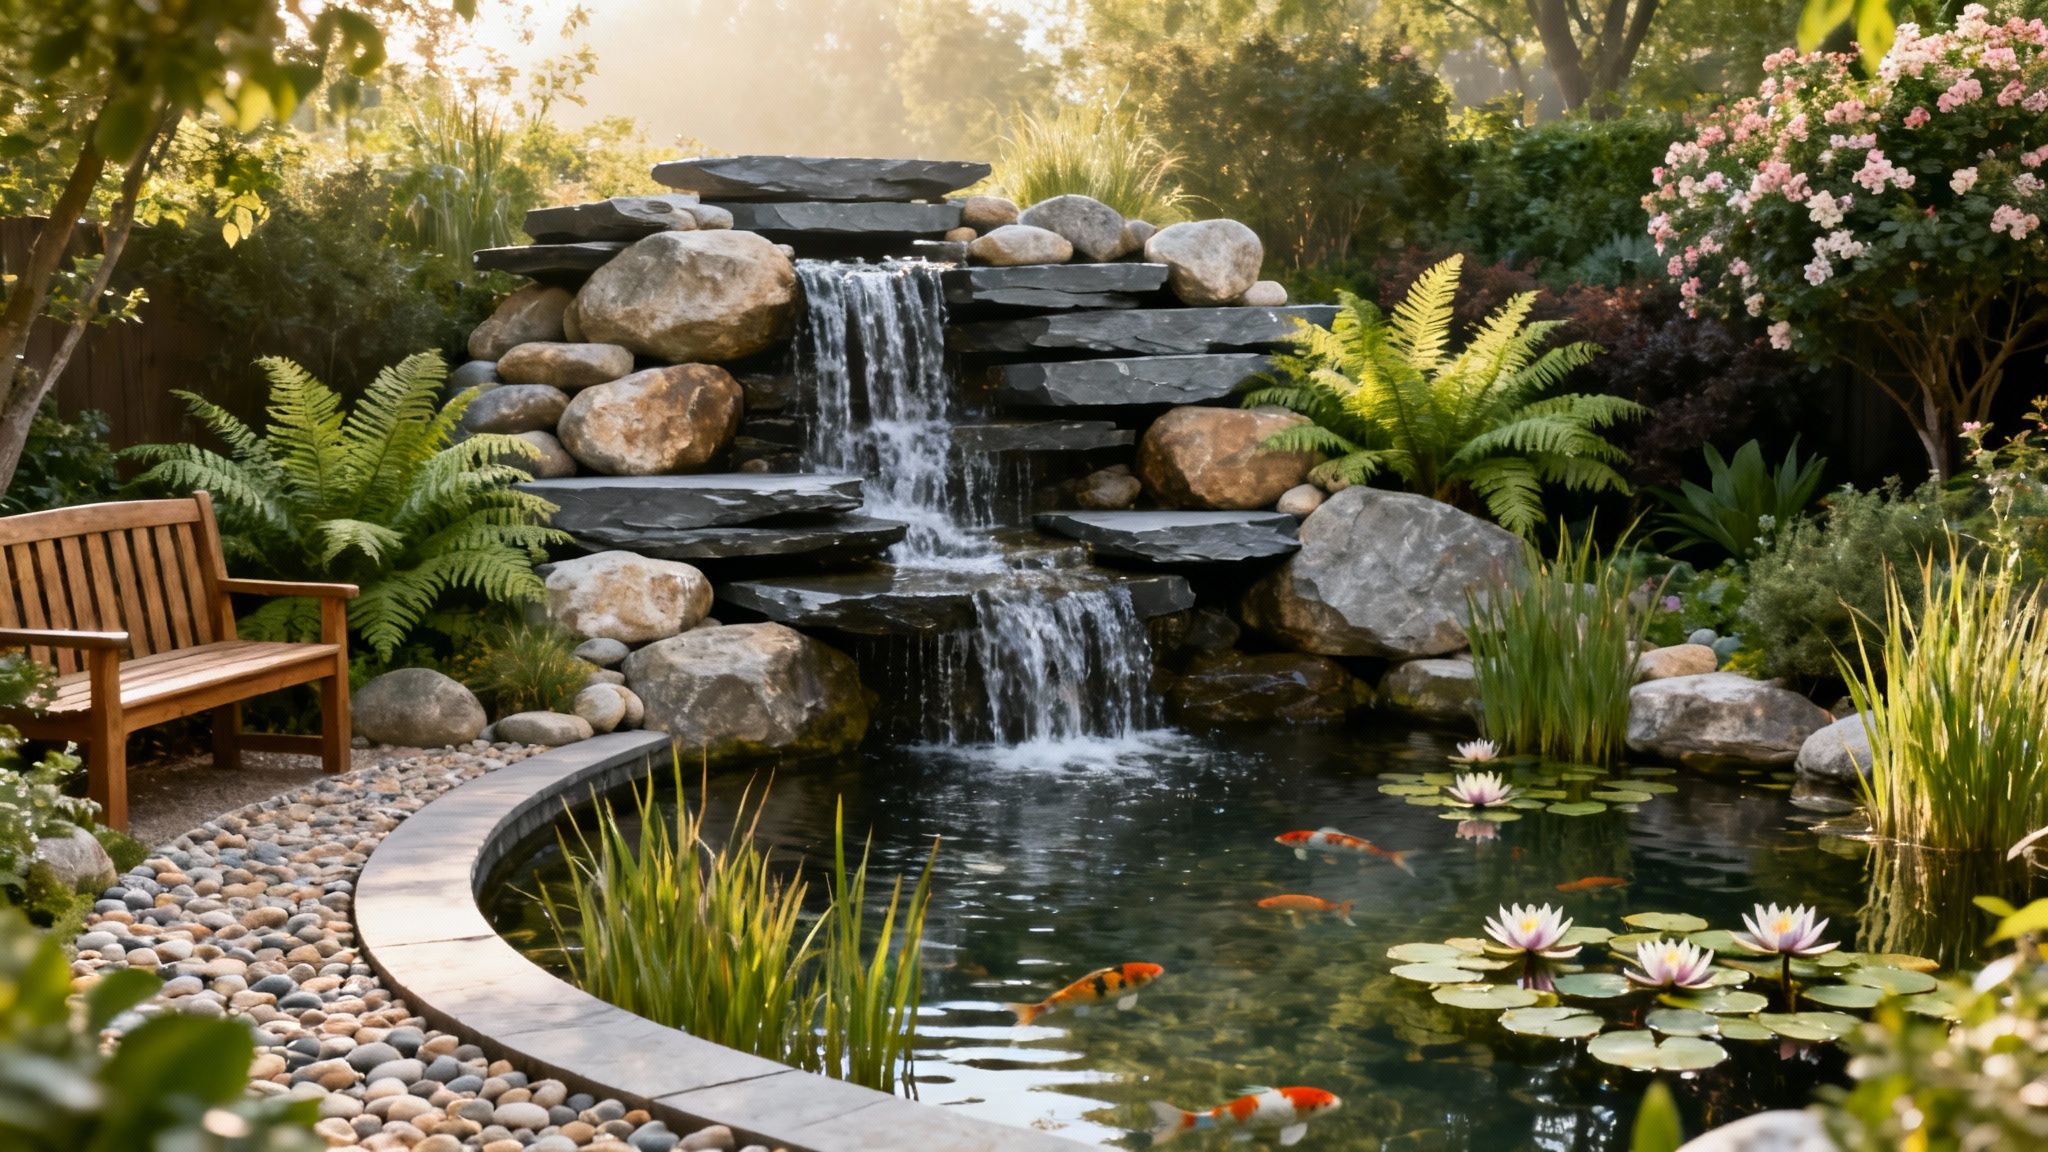
- A Peaceful Retreat: Maybe all you want is a secluded corner to read a book, a sunny spot for a morning coffee, or to create a haven buzzing with bees and butterflies.
Try to jot down your top two or three priorities. This isn't just a wish list; it's the functional blueprint that will shape the entire layout.
I see it all the time: people try to cram absolutely everything in. A garden that's trying to be a football pitch, a vegetable plot, and a serene zen retreat often ends up failing at all three. Focus on your main goals for a garden that genuinely works.
Finding a Style That Feels Like You
Once you've figured out the function, you can start having fun with the form. The style you choose sets the whole mood and aesthetic of the garden. Here in the UK, we've got a rich history of garden design to borrow from, but the best style is always the one that feels right for you and your home.
Think about the atmosphere you want. Are you drawn to something relaxed and informal, or do you prefer things to be more structured and clean?
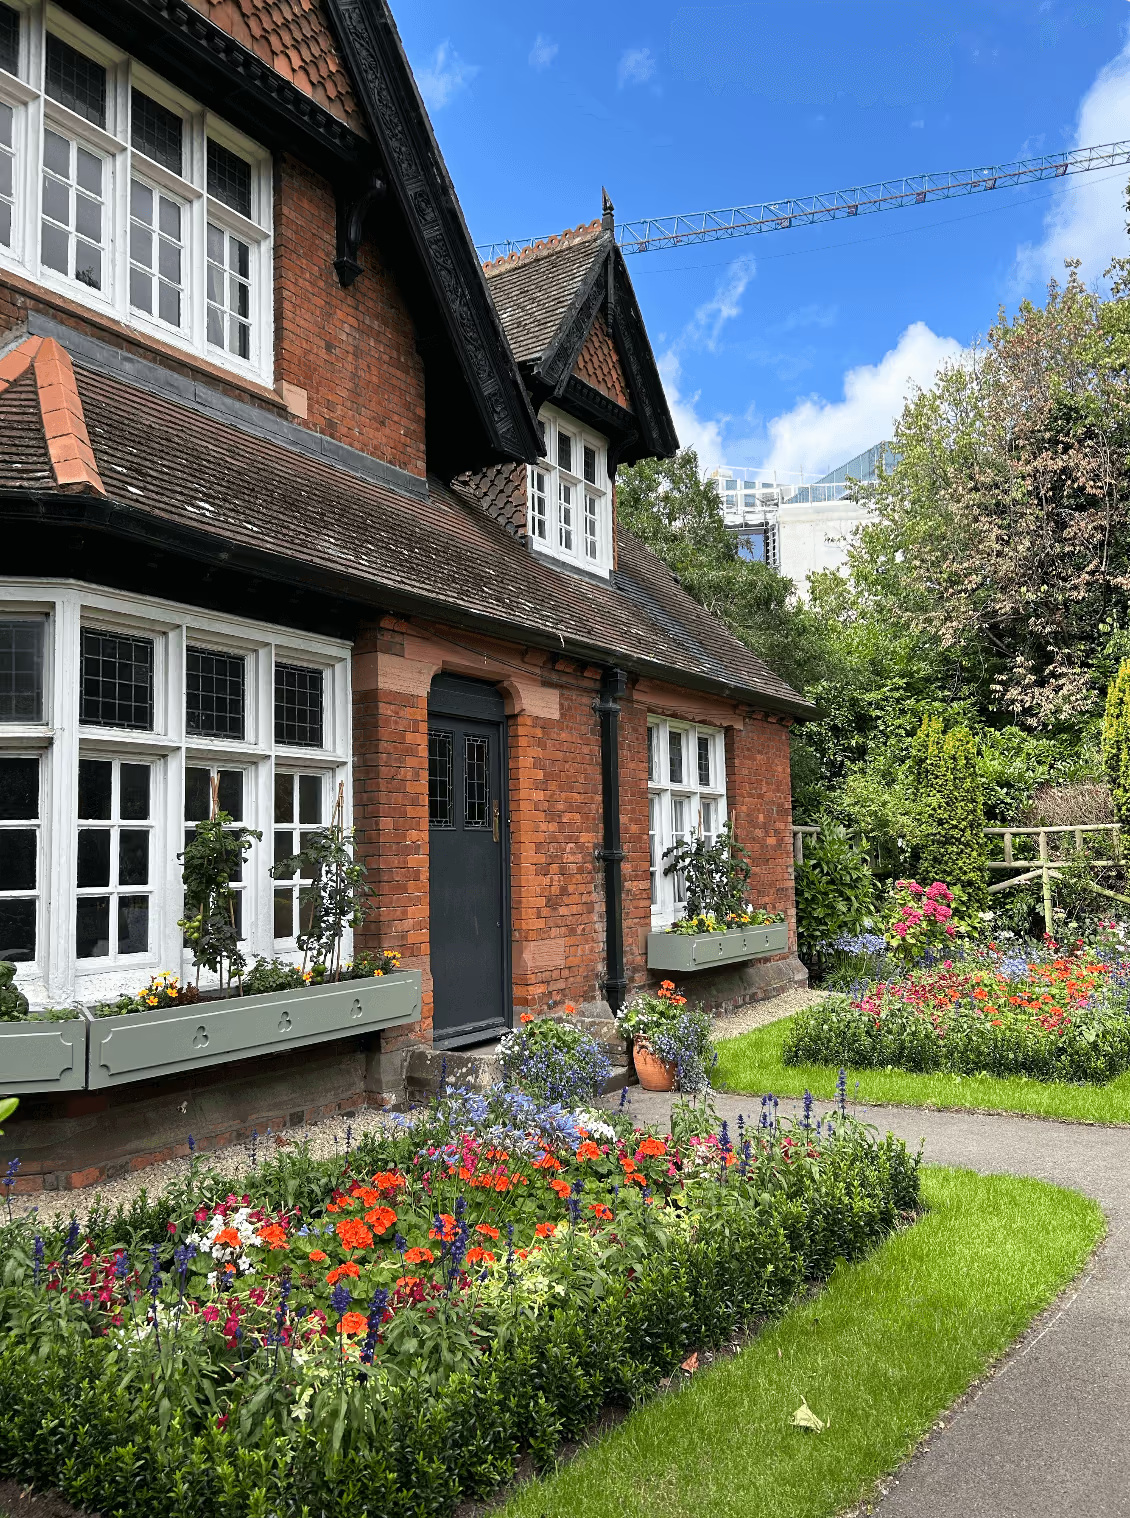
- Cottage Garden: This is all about that relaxed, informal charm. Think winding paths and flowerbeds so jam-packed they're overflowing with a jumble of flowers, herbs, and even edibles. It’s romantic, wonderfully chaotic, and a magnet for bees and butterflies. If this sounds like you, we've got some lovely examples in our guide to cottage garden designs that are perfect for UK homes.
- Contemporary Garden: The polar opposite, really. This style is built on clean lines, bold geometric shapes, and a more restrained, minimalist planting palette. It often features materials like polished concrete or sleek decking, with architectural plants like tall grasses and bamboos creating a sharp, modern feel.
- Mediterranean Garden: If you have a sunny, sheltered spot, you can capture that holiday feeling. This style relies on gravel, terracotta pots, and drought-loving plants like lavender, rosemary, and olive trees. It's wonderfully low-maintenance once it gets going.
Don't forget to be realistic. Your chosen style needs to match your budget and, crucially, the amount of time you can actually spend maintaining it. That classic cottage garden, for instance, needs a lot more regular pottering than a minimalist contemporary space.
By getting both purpose and style clear in your mind, you'll have a powerful vision to guide every step of your garden layout plan.
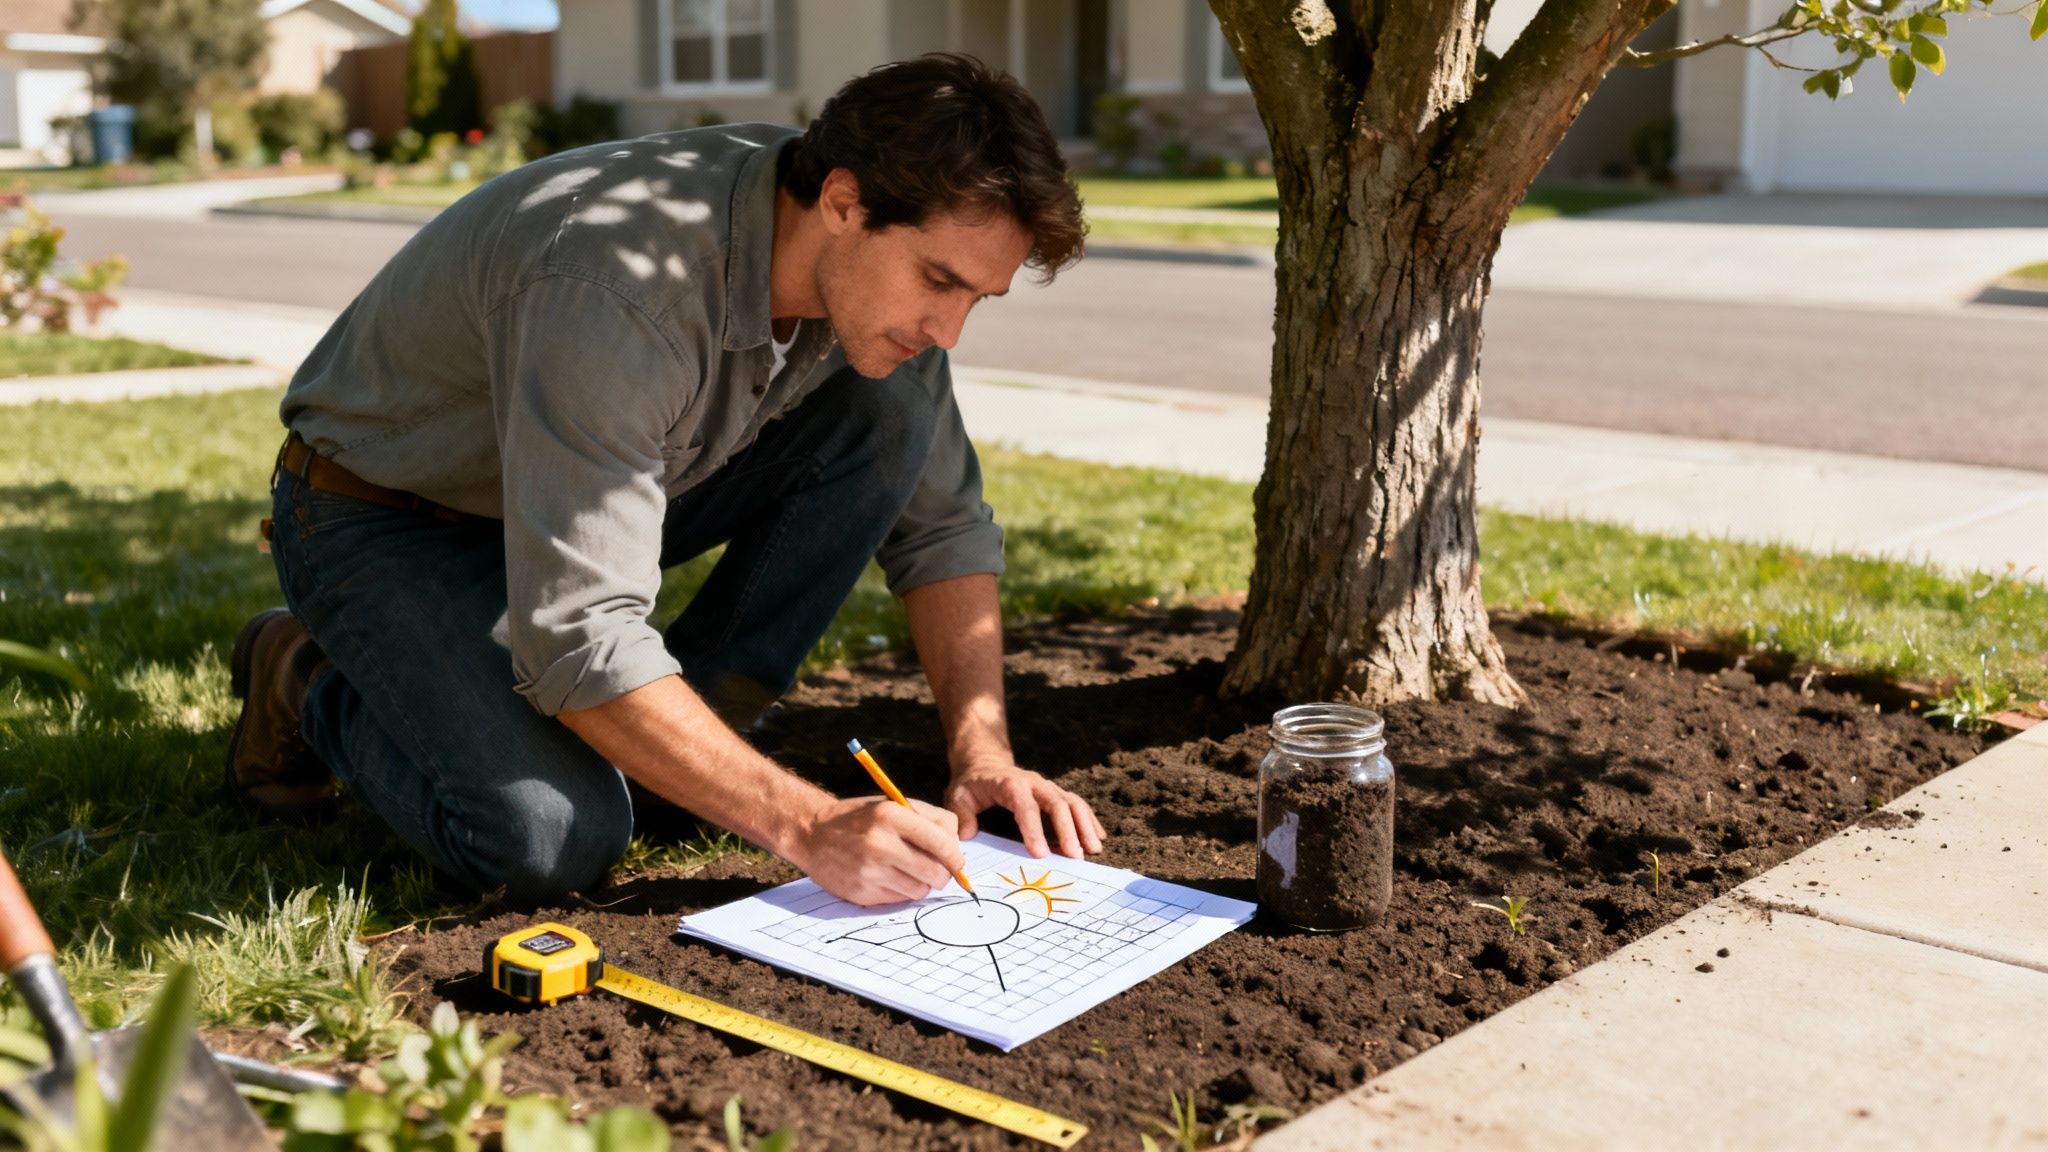
From Sketch to Scale: Creating Your Base Map
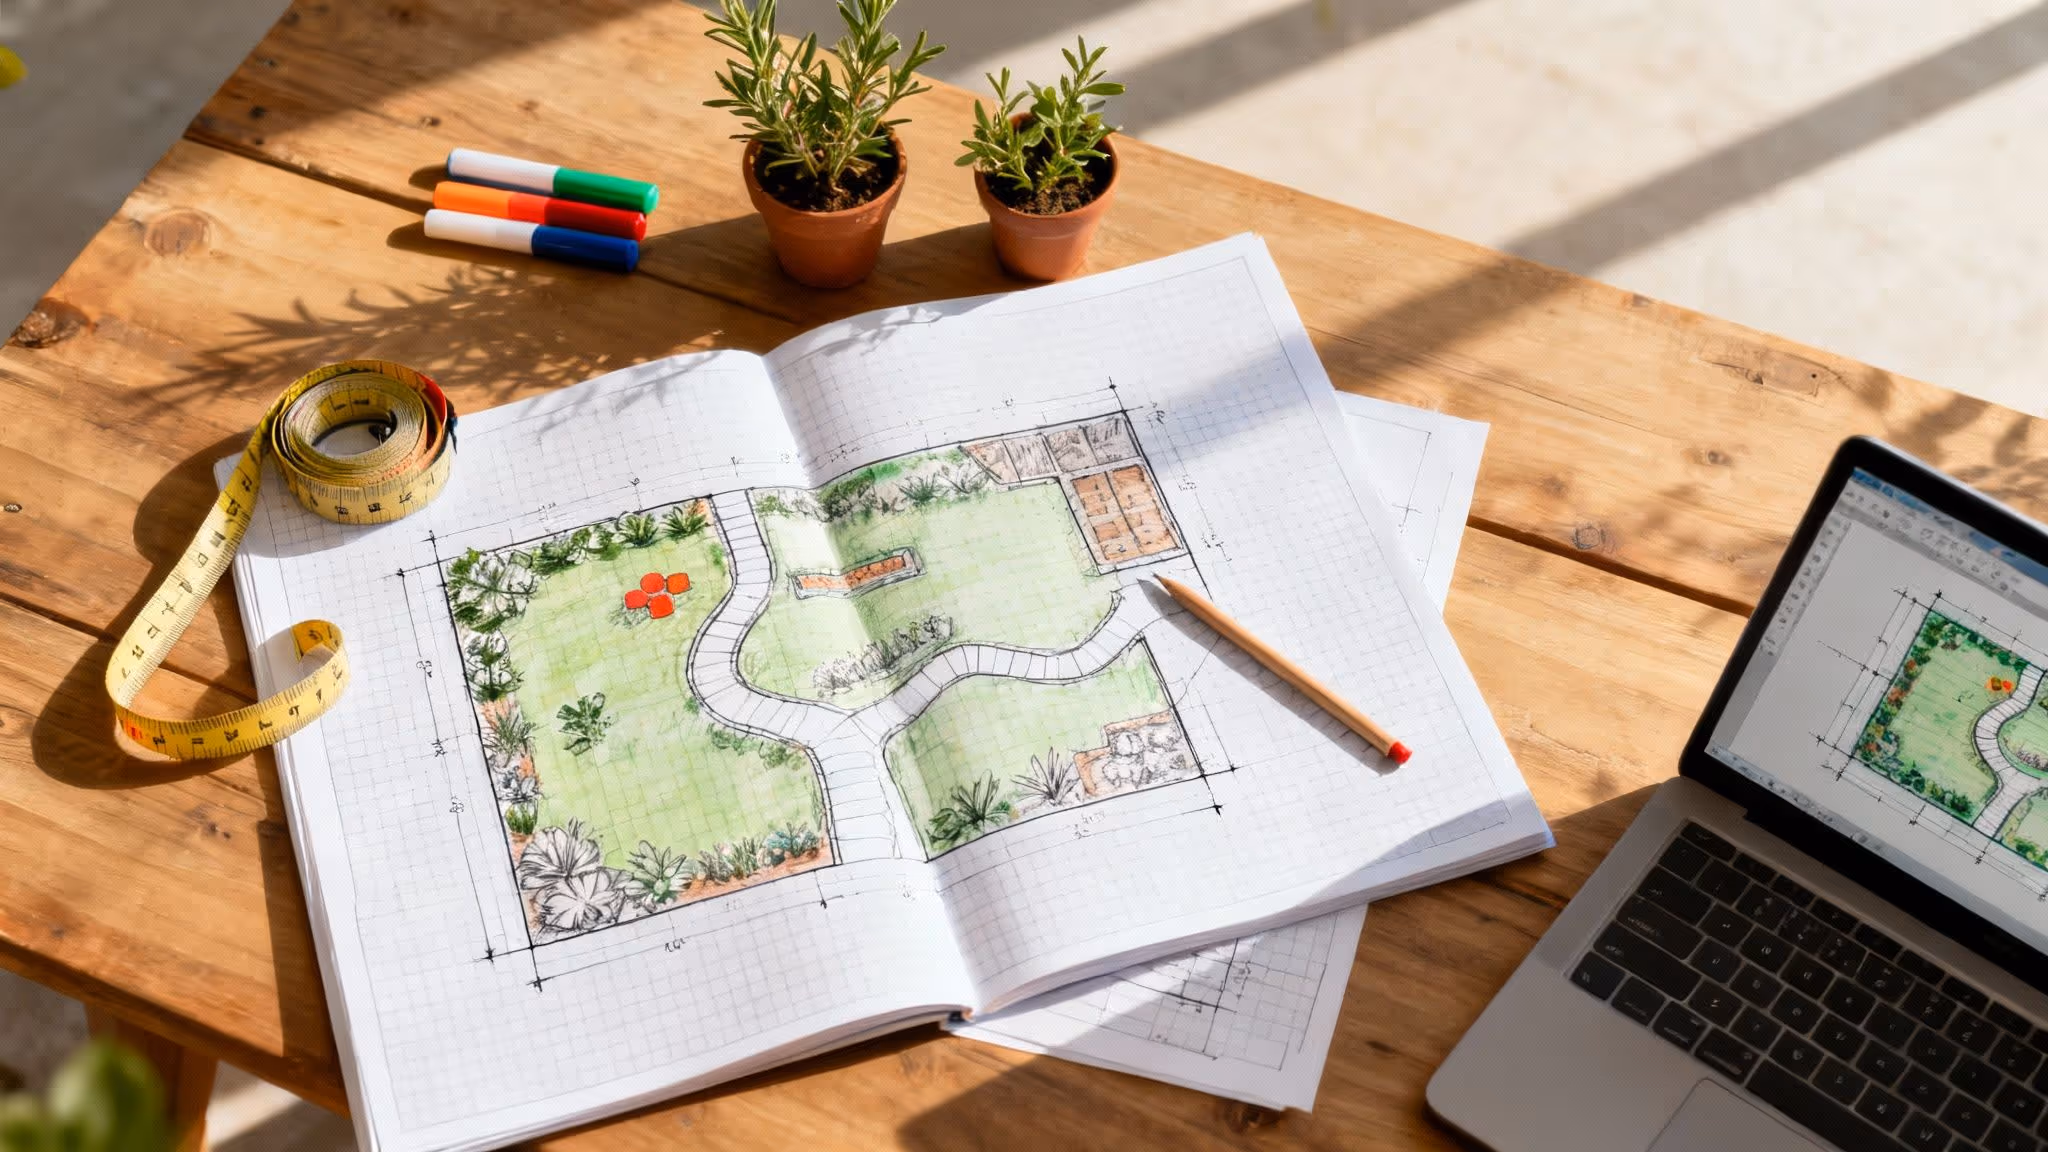
This is where the real fun begins—taking all those brilliant ideas out of your head and getting them down on paper. Creating an accurate, to-scale base map is probably the single most important step in designing a garden that truly works. You don’t need fancy software either; a simple tape measure, a pencil, and some graph paper are all you really need to get started.

Think of this map as your personal sandbox. It’s a place where you can play around with different layouts and ideas without ever having to lift a spade. It’s all about visualising the space properly and making sure your plans are practical before you commit.
Laying the Foundations: Your Permanent Structures
First things first, let's map out the things that aren't going anywhere. Choose a simple scale that makes sense for you—something like one big square on your graph paper equalling one metre is a great starting point. The key is to be consistent.
Start by sketching in these core features:
- Property Boundaries: Get the full outline of your garden down, including any fences, walls, or hedges.
- House Footprint: Mark out the part of your house that opens onto the garden.
- Access Points: Pinpoint the exact locations of doors and windows. These will dictate views and natural pathways.
- Permanent Fixtures: Don't forget any existing sheds, patios, large trees, or well-established shrubs you plan to keep.
Taking your time to get these fixed points right gives you a solid framework for everything else. This is absolutely critical in smaller spaces, where every centimetre counts. For a bit more inspiration on making the most of a compact plot, take a look at our journal on designing modern small gardens.
To get this right, you need to be methodical with your measuring tape. Here’s a quick checklist of the essentials for your base map.
Essential Measurements for Your Base Map
Getting these measurements locked down means you're building your plan on a foundation of fact, not guesswork.
Adding the Environmental Data Layer
Now, let's bring that map to life. Take all that crucial information you gathered during your garden audit and layer it onto your drawing. This is what turns a simple sketch into a powerful design tool, blending the physical structure with the unique character of your space.
I find it helps to use different colours or symbols to mark out:
- Sun and Shade Zones: Lightly shade the areas that get full sun, partial shade, and stay in deep shade. You’ll be grateful for this later!
- Soil and Drainage Issues: Make a note of any spots that are constantly boggy or seem to dry out in an instant.
- Wind Direction: Use simple arrows to show where the prevailing wind whips through. This is a game-changer for placing delicate plants or a sheltered seating nook.
- Utilities: Clearly mark the locations of drain covers, outdoor taps, and any electrical points.
This layered map gives you a complete, at-a-glance picture of your garden's conditions, helping you avoid classic mistakes like putting a sun-drenched patio in the shadiest corner.
Your base map isn’t just a drawing; it’s the story of your garden’s potential. By mapping both the permanent structures and the invisible forces of nature, you create a comprehensive guide for every decision you’ll make from here on out.
Knowing your garden's size helps set realistic goals. According to the Horticultural Trades Association (HTA), the typical UK garden (including front, back, and side) measures around 16 metres by 16 metres (256m²). Having this context is incredibly useful for space planning. You can find more great industry data over on the HTA's statistics page.
With your detailed, scaled base map complete, you have the perfect foundation. Now you can start sketching out that dream layout, knowing your ideas are well and truly grounded in reality.
Designing Functional Zones and Pathways
With your base map sorted, it’s time for the fun part: shifting from measuring to imagining. A truly great garden isn't just a random collection of plants; it's a space that flows, making it feel effortless and logical to be in. This is where we get into zoning—the art of carving out distinct areas for all the different things you want to do outside.

Think of it as turning a simple patch of land into a multi-purpose extension of your home. It’s all about creating a dedicated spot for everything, ensuring the garden works for your lifestyle, not the other way around.
From Bubble Diagrams to Defined Zones
Before you even think about paving slabs or plant names, grab your base map and a sheet of tracing paper. Lay it over the top and start drawing rough circles or 'bubbles' to represent each activity or function you listed earlier.
This is a fantastic, low-pressure way to play with the layout without any commitment. You can quickly see how different areas relate to one another and experiment with the overall flow of the garden.
Try sketching out bubbles for things like:
- Social Zones: This could be your main patio for dining, a cosy seating nook for a morning coffee, or the future home of your barbecue.
- Utility Zones: A practical, out-of-the-way corner for the compost bin, wheelie bins, or a small storage shed.
- Planting Zones: The main event! These are your flower borders, raised vegetable beds, or areas for statement shrubs and trees.
- Play Zones: If you have children, this might be an open patch of lawn for games or a dedicated spot for a swing set.
Don’t be afraid to move the bubbles around. Does it make sense to have the dining patio right next to the kitchen door? Absolutely. Does the quiet reading nook need to be far away from the kids' noisy play area? Probably. This is your chance to get the relationships between these spaces just right.
The goal of a bubble diagram is to establish a logical flow. Think about how you'll actually move between spaces. The path from the back door to the compost bin should be direct and practical, while the route to a hidden seating area could be more meandering and mysterious.
Creating Pathways with Purpose
Pathways are so much more than just a way to get from A to B; they're the arteries of your garden. They connect your zones, guide the eye, and set the entire pace and mood of the space. The materials and shape you choose are a core part of your garden's character.
Let's start with the practicalities. A main path, like the one from your house to the shed, needs to be wide enough for a wheelbarrow—I'd suggest around 90cm to 120cm. A smaller, less-travelled path to a quiet corner could be narrower, maybe 60cm, which helps create a more intimate feel.
The material you choose has a huge impact on the look and feel:
- Gravel: Offers that satisfying crunch underfoot, is relatively inexpensive, and provides excellent drainage. It's perfect for a relaxed, cottage, or Mediterranean garden.
- Paving Slabs: Create a solid, stable surface that’s ideal for dining areas. They can lend a more formal or contemporary look depending on the material.
- Bark Chippings: Soft, natural, and brilliant for informal paths through woodland-style planting or around play areas.
The shape of your path is just as important. Straight, direct paths create a sense of formality and draw the eye quickly to a focal point at the end. In contrast, gently curving paths slow you down, add a sense of intrigue, and can make a small garden feel larger by hiding what's just around the corner. If you're planning a social hub, our journal has some fantastic outdoor barbecue area ideas that can help you design the perfect patio space.
This focus on clever zoning and pathways is especially vital in today's urban settings. With denser housing, urban gardening has become a key part of modern layout planning in the UK. According to the RHS, the proportion of gardens classified as 'small' (under 50m²) has increased by 15% in the last decade, pushing designers to create these hard-working, multi-functional spaces. You can read more about the methodology of the RHS State of Gardening Report for further insights.
Choosing Plants and Hard Landscaping Materials
With the bones of your garden now mapped out, it’s time for the really exciting part: bringing it to life with plants and materials. This is where you get to play with colour, texture, and form, layering them together to create a space that feels personal and complete.
Think of it as a balancing act. You have the soft, ever-changing beauty of your plants on one side, and the solid, grounding presence of your hard landscaping on the other. Getting this mix right is the key to a garden that not only looks great but works beautifully too.
The 'Right Plant, Right Place' Philosophy
If there's one golden rule in gardening, it's this: 'right plant, right place'. Honestly, trying to fight your garden’s natural conditions is just a recipe for frustration and extra work. You're far better off working with what you have.
Remember that garden audit you did? Use it. That sun-scorched, dry spot with poor soil is perfect for a sun-loving lavender. That damp, shady corner where nothing seems to grow? It’s a dream home for a lush, moisture-loving hosta. When you embrace this simple idea, your plants won't just survive—they'll thrive with minimal fuss, making your garden more resilient and a lot less work.
This approach is at the heart of a huge shift we’re seeing in UK gardens. The Royal Horticultural Society (RHS) has noted that over 30 million of us are now actively picking plants that help support biodiversity. It’s all about creating gardens that are good for wildlife, with popular choices like salvias and dahlias providing glorious colour while also being a magnet for pollinators. If you're curious, you can discover more about the RHS 2025 gardening predictions to see where things are headed.
Layering Your Planting for Year-Round Interest
A truly great garden has something to catch your eye no matter the season. The trick is to think in layers, building your planting scheme from a solid foundation right up to the fleeting seasonal highlights.
The Bones of the Garden: First, you need structure. These are your evergreen shrubs and small trees that provide a permanent framework, giving your garden shape even in the dead of winter. Think of things like yew for hedging, sarcococca for its incredible winter scent, or a multi-stemmed silver birch for its elegant shape.
The Middle Layer: Next up are your perennials and ornamental grasses. These are the workhorses that die back in winter but return year after year, filling the garden with colour and movement from spring all the way through to autumn. Grasses like Stipa tenuissima add soft texture, while perennials like hardy geraniums and rudbeckia deliver flowers for months on end.
The Seasonal Flourishes: Finally, you can weave in bulbs and annuals for those brilliant pops of seasonal colour. Daffodils and tulips are the classic harbingers of spring, alliums add a splash of drama in early summer, and annuals like cosmos can be popped into any gaps for a non-stop froth of flowers.
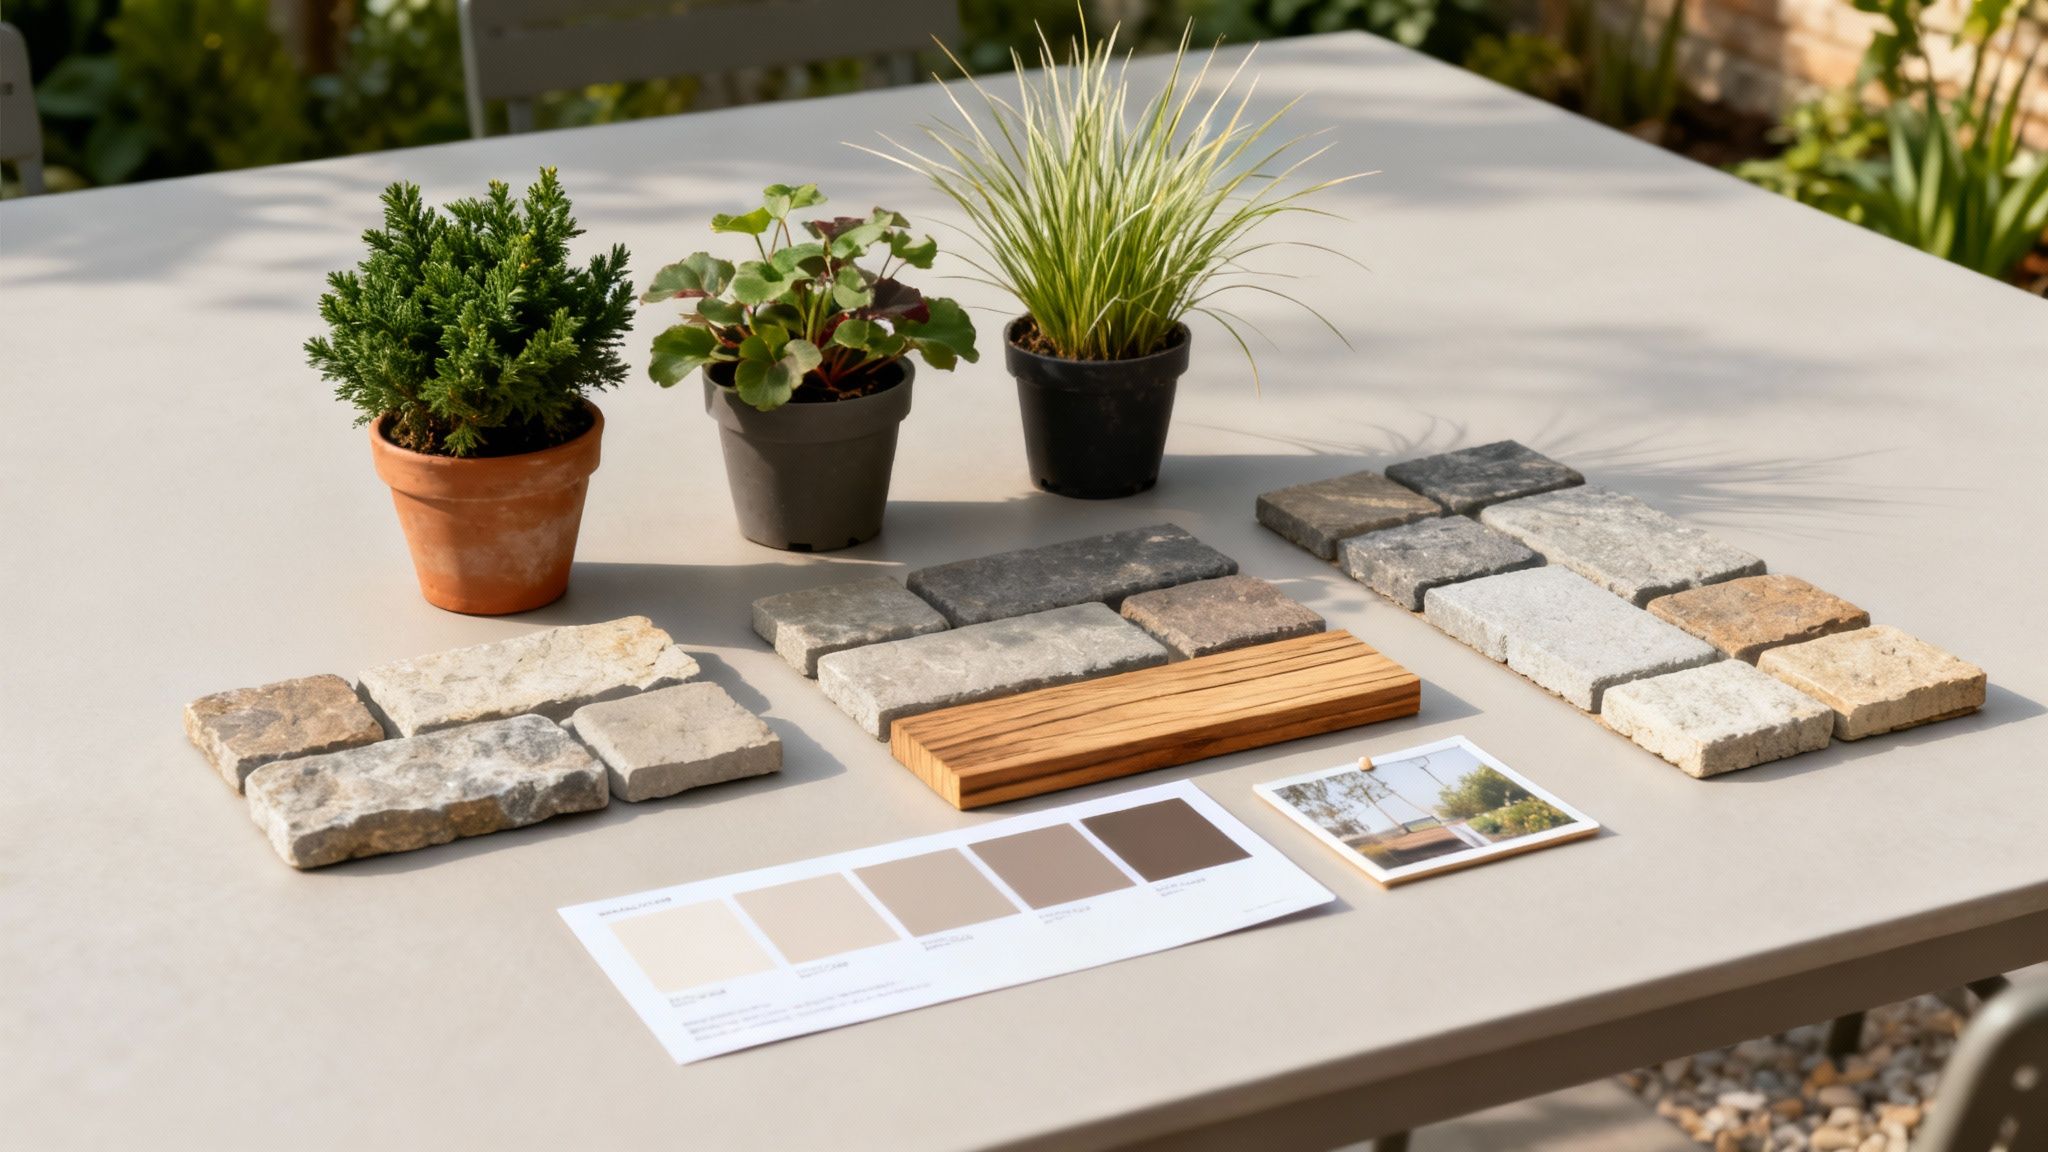
Selecting Hard Landscaping Materials
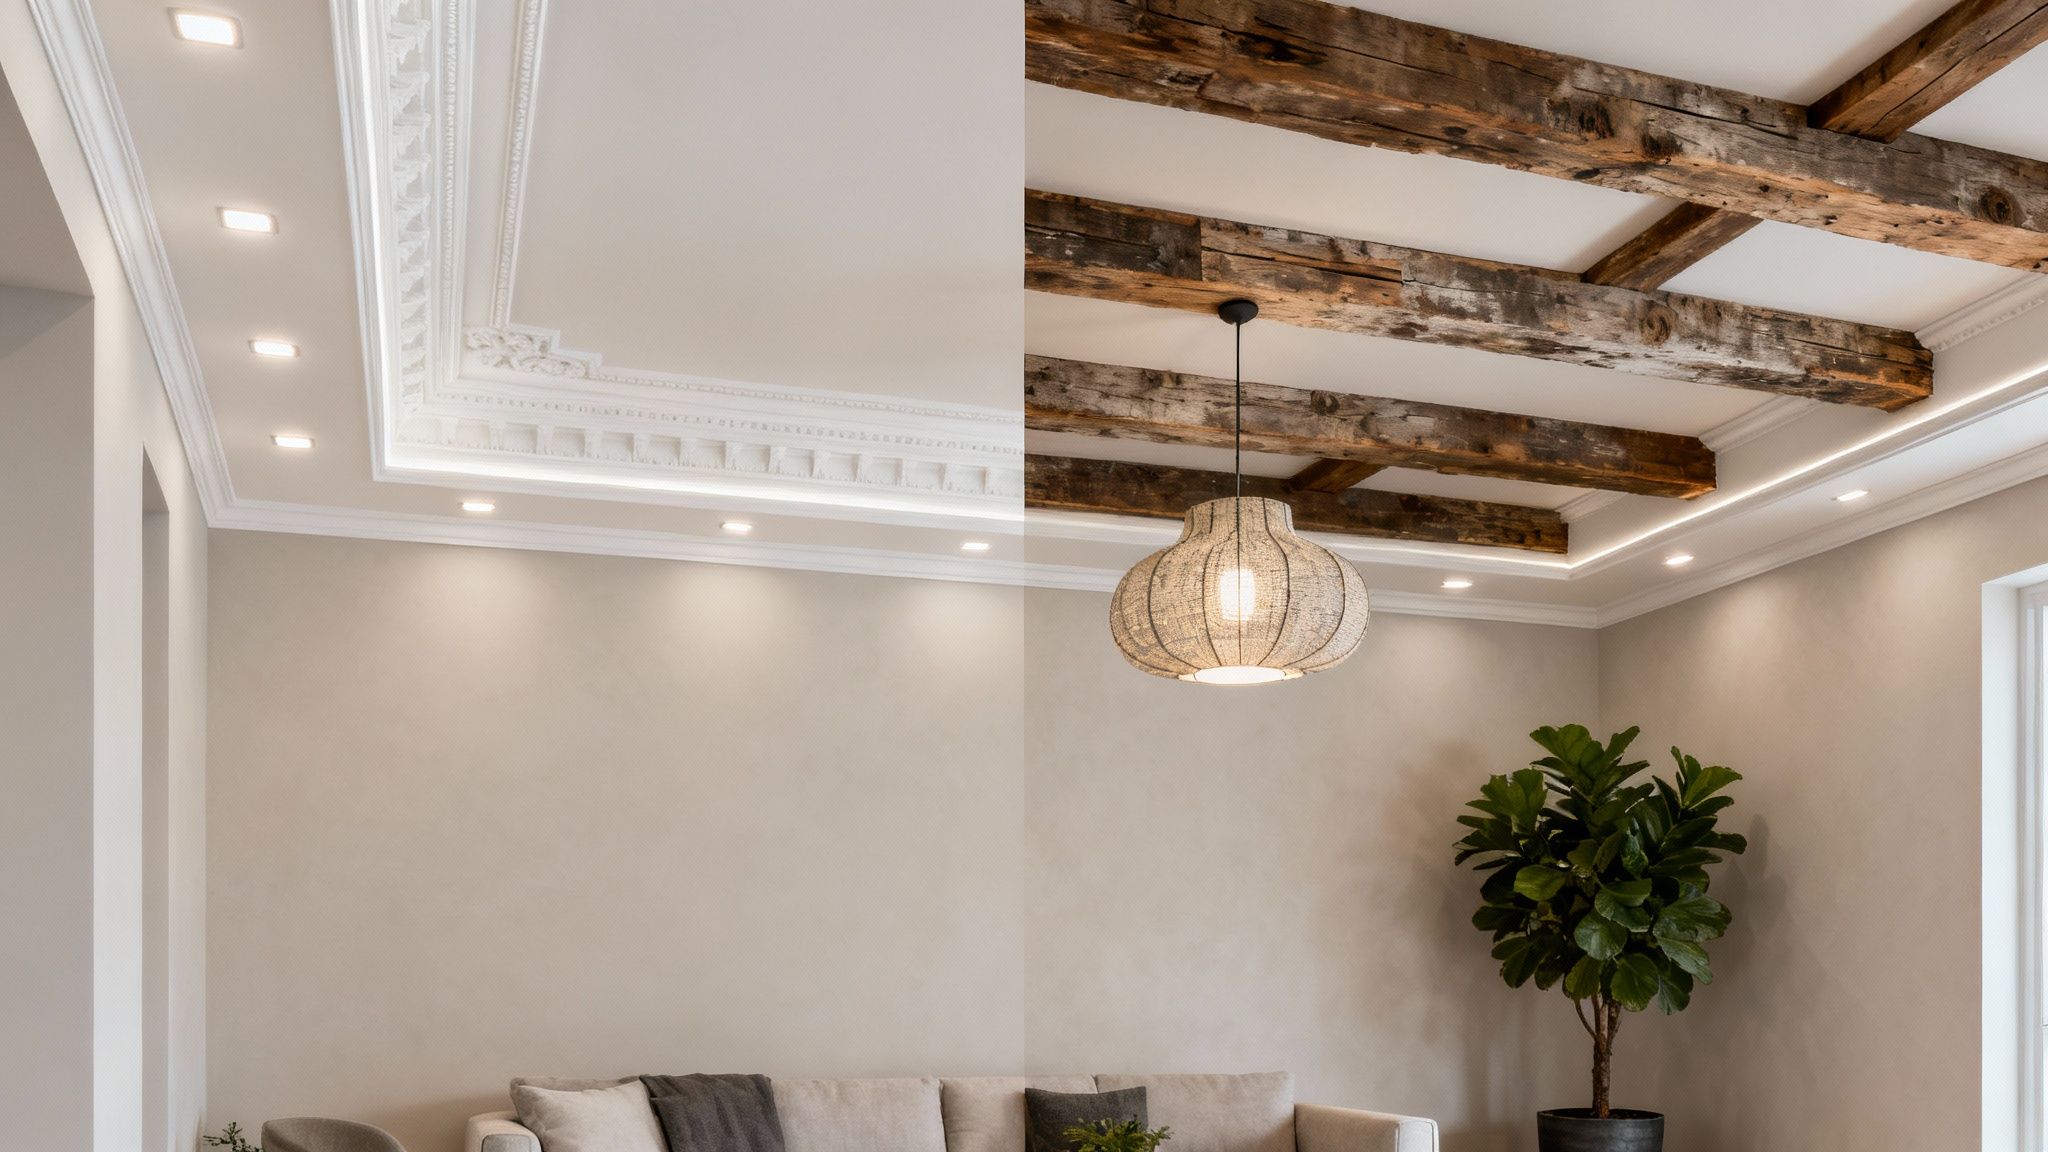
Your hard landscaping – the patios, paths, walls, and fences – is the permanent skeleton of your garden. The materials you choose need to be practical, of course, but they also need to tie in with the style of your house and the overall feel you’re aiming for.
I always recommend creating a simple mood board at this stage. It doesn’t have to be fancy. Just gather a few physical samples of paving, gravel, and wood, and put them next to photos of plants and furniture you like. Seeing it all together is a brilliant way to visualise the final look and make sure it all works.
Think about how the materials relate back to your home. If you have a house made from warm-toned brick, choosing paving with similar earthy colours creates a lovely, seamless flow from indoors to out. On the other hand, a sleek, modern home might look fantastic with sharp, grey porcelain pavers, while a country cottage garden often suits rustic reclaimed bricks or chunky timber sleepers.
The texture and finish matter just as much as the colour. A smooth, sawn stone has a crisp, contemporary feel, while a riven-surfaced slab with a more rugged texture looks much more traditional and natural. And don't forget the little details that make a big difference, like how you edge your flower beds. For some great ideas, have a look at our guide to creative flower bed edging ideas to find a style that will give your layout a really polished finish.
Common Questions About Planning Your Garden Layout
Even with a solid plan, taking the first steps on a new garden layout can feel a little daunting. Over the years, I've noticed the same questions pop up time and time again. To help you push past any hesitation and get started with confidence, let's run through some of the most common queries I hear from fellow gardeners.
How Do I Make My Small UK Garden Feel Bigger?
Making a small garden feel more spacious is a classic challenge. The secret isn't actually finding more space, but using a few clever tricks to deceive the eye and make the most of every vertical inch. Your main goal should be to draw the gaze upwards, which you can do beautifully with climbers like clematis or a fragrant jasmine scrambling up a trellis.
Whatever you do, avoid a straight path that gives the whole game away at once. Instead, lay a gentle S-shaped path. This simple move adds a sense of journey and a touch of mystery, as you can't see the entire garden from one spot. It encourages you to slow down and makes the space feel far more expansive than its true dimensions.
Another great technique is to use layers of planting to partially screen the view to the back of the garden. By not revealing everything immediately, you create depth and intrigue. Finally, stick to a limited palette of light-coloured materials for paving and fences. Lighter colours are brilliant at reflecting light and making any space feel brighter and more open.
What Is the Secret to a Low-Maintenance Garden Layout?
A truly low-maintenance garden is designed from the outset, not just a happy accident. It all starts with making smart layout choices that slash your chore list from day one. A big lawn is almost always the most high-maintenance feature, so think about shrinking it or even replacing it with gravel, decking, or a carpet of densely planted groundcover to cut down on mowing.
The absolute golden rule is to choose plants that are perfectly suited to your garden's specific conditions—the right soil, light, and climate. Happy plants that are in the right place simply require far less fuss. Prioritise evergreen shrubs, as they provide a solid green framework all year round without needing constant attention.
One of the best time-saving investments you can make is to mulch your garden beds heavily. A good 5-7cm deep layer of bark chips or garden compost will suppress weeds, lock in moisture (meaning less watering for you), and slowly feed the soil as it breaks down.
When it comes to hardscaping, think long-term. Composite decking, for instance, requires far less upkeep than traditional wood. And honestly, an automated irrigation system, even just a simple soaker hose on a timer, is a complete game-changer. It keeps your plants watered consistently without you having to lift a finger.
Where Is the Best Place for a Patio or Seating Area?
Finding the perfect spot for your patio comes down to one simple question: how and when do you actually plan to use it? Don't just plonk it down where it looks good on paper; you have to observe the sun's journey across your garden.
- For morning coffee: An east-facing spot is unbeatable. It will catch all that lovely, gentle early sun.
- For evening dining: A west-facing patio is the one you want, as it will soak up the last of the day's warmth and light.
- For all-day use: A south-facing area gets the most sun overall, but you'll almost certainly need to plan for some shade, like a pergola or a simple sail shade.
Convenience is another huge factor. A patio right off the kitchen will get used constantly for alfresco meals, while one tucked away at the bottom of the garden might be forgotten. Before you start digging, test your chosen location. Just put a couple of chairs in the spot and spend some time there at different points of the day. Check the light, see if it’s too windy, and work out how private it feels.
How Much Should I Realistically Budget for a New Garden Layout?
A garden budget can be anything from a few hundred pounds for a simple DIY planting project to many thousands for a full-scale redesign with professional landscapers. It's a massive spectrum, but there are ways to make it manageable.
As a general rule of thumb in the industry, allocating 5-15% of your home's value for a comprehensive landscaping project is a realistic starting point. But let’s be honest, very few of us tackle everything at once. A far more practical approach is to phase the plan over several seasons.
Focus your initial budget on the "bones" of the garden—the hard landscaping like patios, pathways, and fences. These are the most disruptive and expensive bits, so it makes sense to get them done first. You can then add the plants, furniture, and finishing touches over the next year or two as your budget allows. To bring costs down, think about doing some of the labour yourself, like preparing the soil or planting. Buying smaller, younger plants is another fantastic way to save money; they are so much cheaper and often establish themselves more quickly than larger, mature specimens.