Ready to capture the essence of your garden and keep it in your pantry for months to come? It's easier than you think. This guide will walk you through the simple, time-tested methods for drying fresh herbs, ensuring you lock in all that incredible flavour and aroma. Whether you prefer to air-dry, use an oven or dehydrator, or even turn to the microwave for a quick fix, you'll soon have a stash of homegrown herbs ready for any recipe.
Preserve Your Garden Flavour All Year Round
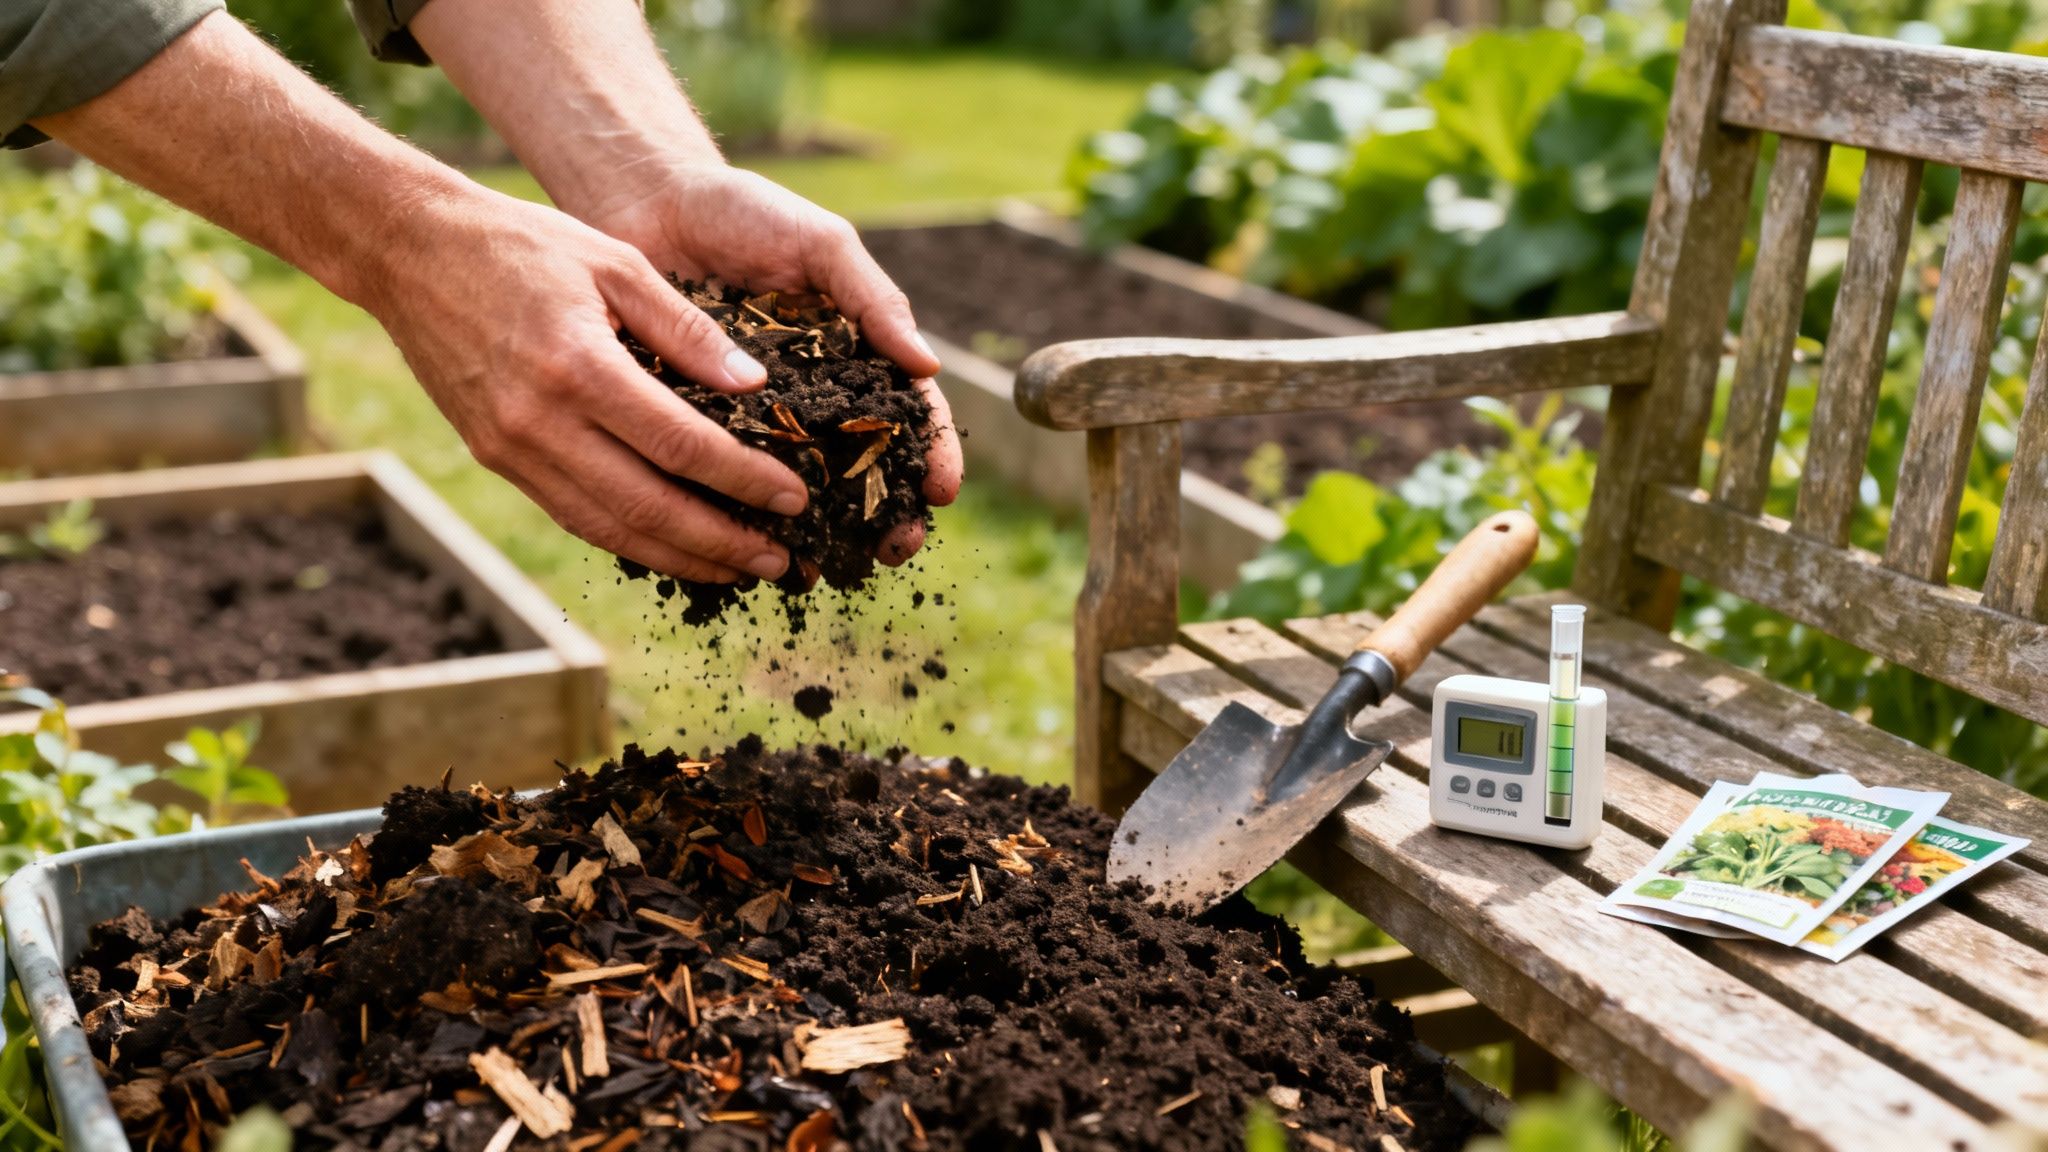
There’s something deeply satisfying about drying your own herbs. It’s a skill that connects you to the seasons, turning a fleeting summer harvest into a lasting treasure. Forget the dusty jars from the supermarket; homegrown dried herbs pack a punch of flavour that is simply unmatched. The best part? You don't need any fancy, specialised equipment to get started.
It's a tradition that's seeing a real resurgence. Back in 2020, the UK's dried herbs market was already valued at around £300 million, and it's expected to climb to £450 million by 2025. This isn't just a commercial trend; it's happening in our own back gardens. With over 2 million UK households now growing their own herbs, it's clear we've fallen back in love with fresh ingredients. In fact, a whopping 70% of UK gardeners say they prefer to air-dry herbs at home—a testament to its simplicity and effectiveness. You can find more details on this growing trend from Coherent Market Insights.
Why Bother Drying Your Own Herbs?
When you dry your own herbs, you're in the driver's seat. You pick them at their absolute peak, ensuring the most intense flavour, and you know exactly what’s in the jar—just pure, unadulterated herbs. It's also a brilliant way to cut down on food waste, especially when you have a bumper crop of basil or more rosemary than you know what to do with. No garden? No problem. Just grab some fresh bunches from your local farmers' market and you're good to go.
The rewards are well worth the minimal effort:
- Intense Flavour: Drying concentrates the essential oils, which is where all the flavour and aroma live. The result is a much more potent and vibrant taste than you'll find in most shop-bought jars.
- Cost-Effective: A few packets of seeds or a couple of plants can yield a year's supply of herbs. It’s far cheaper than buying those tiny, pricey jars every few months.
- Year-Round Access: Imagine having your own custom blends ready for hearty winter stews, Sunday roasts, and pasta sauces. If you want a truly continuous supply, our guide on how to grow herbs indoors can help you keep things fresh all year.
The real magic of drying herbs at home is the connection it creates with your food. From a tiny seed in your garden to a flavourful addition in your favourite dish, it’s a simple act that brings immense satisfaction and elevates your cooking.
Before we dive into the nitty-gritty of each technique, let's take a quick look at the options. This should help you figure out which method will work best for the herbs you have, the equipment in your kitchen, and the time you've got to spare.
Mastering the Art of Air-Drying Herbs
Air-drying is, without a doubt, the most traditional and satisfying way to preserve your herbs. It’s a method steeped in history, requiring no fancy equipment or electricity—just a bit of patience. This slow, gentle approach is perfect for robust, low-moisture herbs like rosemary, thyme, oregano, marjoram, and sage.
The whole idea is to let the water evaporate from the leaves gradually, away from harsh light or heat that could destroy their delicate essential oils. Get this right, and you'll lock in a depth of flavour and a richness of colour that leaves shop-bought dried herbs in the dust.
Finding the Perfect Drying Spot
Where you hang your herbs makes all the difference. You’re looking for somewhere warm, dark, and dry with plenty of air moving through it. A spare room, a dry attic, or even a boiler cupboard can work wonders. Just keep them out of direct sunlight, which will bleach the leaves and zap their flavour.
Humidity is your main enemy. A steamy kitchen or a damp cellar is a recipe for mould, so avoid them at all costs. Good airflow is what you really need; it whisks away the moisture and stops any musty smells from developing.
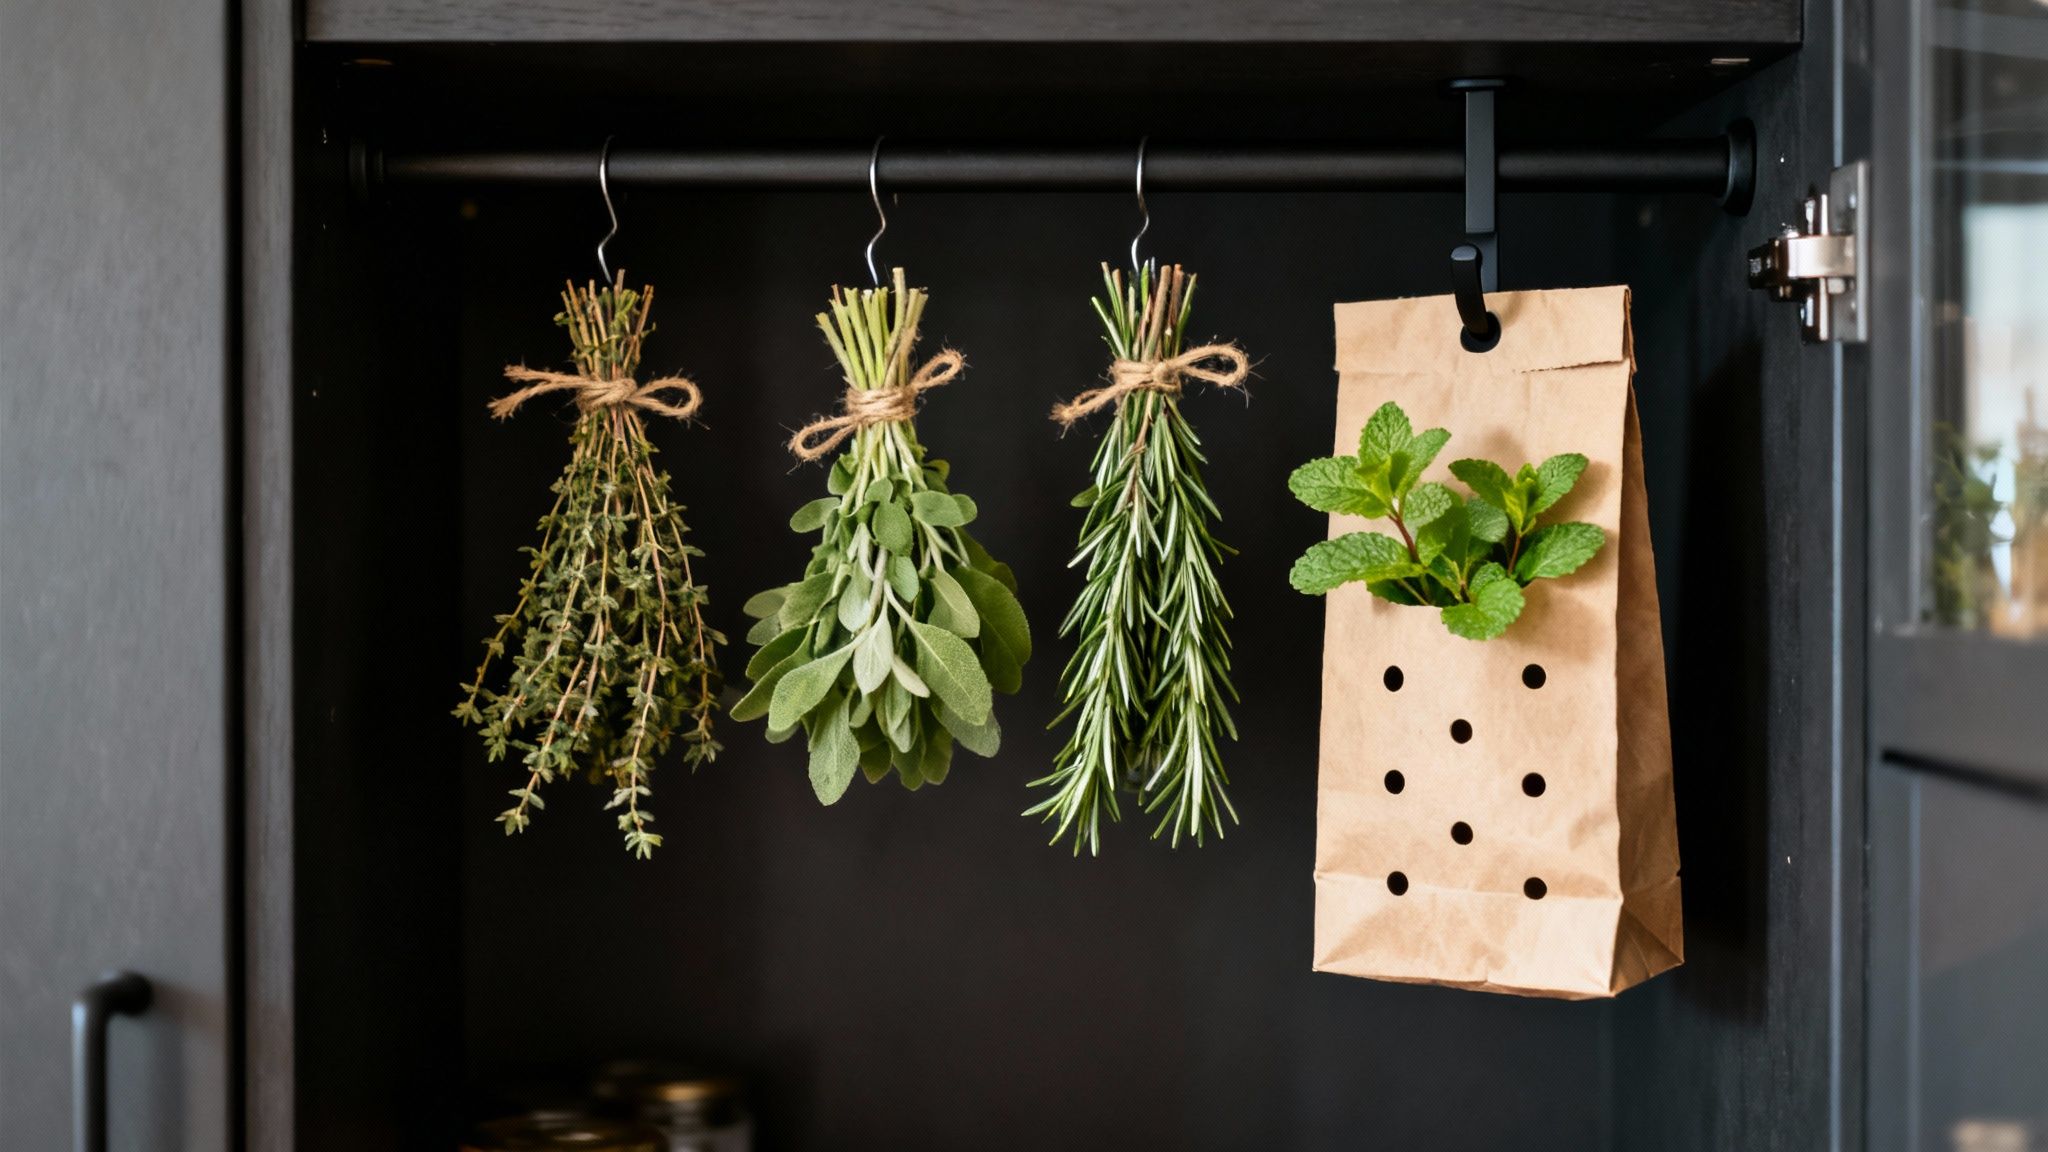
Creating Your Herb Bundles
Once you've found your spot, it's time to bunch up your herbs. The trick is to keep the bundles small and loose so air can get to every leaf.
- Gather Small Bunches: Tie just 5-10 stems together. It's tempting to make big, rustic-looking bundles, but they trap moisture and are a common cause of mould.
- Secure Tightly: A bit of twine or an elastic band is all you need. I often find an elastic band works best, as it tightens its grip when the stems shrink during drying, so you don't lose any.
- Hang Them Up: Always hang your bundles upside down. Gravity will help draw the essential oils from the stems down into the leaves, concentrating all that wonderful flavour right where you want it.
Here's a great little tip I use for delicate herbs like mint or lemon balm: pop the bundle inside a paper bag with a few holes poked in it for ventilation. Tie the bag at the top around the stems. It keeps the dust off and catches any leaves that drop, which they inevitably do!
Knowing When They Are Ready
Now, you just need a bit of patience. Fresh herbs are mostly water—parsley, for instance, can be up to 88.3% water. Air-drying brings this down to a stable 5.9% to 7.5%, which is what you need for long-term storage. This typically takes anywhere from seven to ten days, sometimes a little longer depending on the conditions. You can find more details on herb moisture content on greensideup.ie.
You'll know they're done when the leaves feel papery and crumble easily between your fingers. The stems should snap cleanly, not bend. If there’s any flexibility left, give them a few more days. This process works just as beautifully for fragrant flowers; if you’re a fan of lavender, our guide to growing lavender indoors has some great tips.
Using Your Oven or Dehydrator for Faster Results
While the slow romance of air-drying is lovely, sometimes life just calls for a quicker solution. If you're short on time, space, or happen to live in a damp part of the country where air-drying is a bit of a gamble, your kitchen appliances are ready to step in.
Using an oven or a food dehydrator can turn what takes weeks into a matter of hours. It’s a game-changer. These methods give you far more control over the drying environment, which is especially handy for herbs with a high water content like basil, mint, and tarragon. The golden rule is gentle, low heat. You want to dehydrate the herbs, not cook them. Too much heat will scorch their delicate essential oils and turn that beautiful green into a disappointing brown.
How to Dry Herbs in Your Oven
Your oven is a surprisingly effective tool for drying herbs. Just about everyone has one, and with a couple of little tricks, you can get fantastic results. The main challenge is creating a consistently warm, dry environment that lets moisture escape.
First things first, set your oven to its absolute lowest temperature—ideally somewhere between 50°C and 80°C. Any hotter and you risk toasting the leaves. If your oven’s lowest setting is higher than this, simply prop the door open with the handle of a wooden spoon. This little hack is crucial; it stops heat and steam from building up and creates the airflow you need for perfect dehydration.
- Prep the trays: Lay your clean, dry herbs in a single layer on a baking tray lined with parchment paper. Don't be tempted to pile them up, as this traps moisture and leads to sad, unevenly dried patches.
- Give them space: Make sure the leaves aren't overlapping. Good air circulation all around each leaf is what helps them dry out evenly and efficiently.
- Check them often: Start checking after about 30 minutes. Delicate herbs like basil or dill might be done within an hour, while woodier ones like rosemary could take up to two hours. You'll know they're ready when the leaves are brittle and crumble easily between your fingers.
Every oven has its own personality. Think of your first batch as a test run. Stay close by, check on them frequently, and make a note of what timings work best for your appliance.
Using a Food Dehydrator
For anyone who gets serious about preserving food, a dehydrator is a brilliant bit of kit. It’s built for exactly this job, circulating air at very precise, low temperatures to gently draw out moisture. I find this method is particularly good at preserving the vibrant colour and flavour of more delicate herbs.
The process couldn't be simpler. Just arrange your herbs in a single layer on the dehydrator trays, leaving plenty of space between them for the air to do its work. Most dehydrators have a dedicated herb setting, but a good starting point is between 35°C and 45°C.
Modern drying techniques are becoming a go-to across the UK for their efficiency. In fact, research shows that oven drying at around 60°C can get the moisture content of herbs like bay leaves down to 10%—the perfect level to stop any microbial growth. Interestingly, one study found that basil dried in a solar dryer took about 14 hours to reach this ideal moisture level, but it retained more antioxidants than basil left to dry in the open sun. You can read more about these modern herb drying findings on PMC NCBI.
The Super-Fast Microwave Method
In a real pinch? Your microwave can get the job done in minutes. It’s not the best choice for large batches, but it works surprisingly well when you just need a few sprigs dried in a hurry.
All you do is place a single layer of herbs between two sheets of paper towel. Then, microwave them on high in 20-30 second bursts.
Check them after each interval—this is not the time to walk away! Herbs can go from perfectly crisp to burnt in a flash. They’re ready when they feel brittle to the touch. Once they're perfectly dried, you’ll need a good storage system. For some clever ideas on managing your new herb collection, take a look at our guide on how to organise your kitchen.
Nailing Your Harvest and Storage Routine
The secret to incredibly flavourful dried herbs doesn't start on the drying rack—it begins in the garden with a smart harvest. When and how you pick your herbs makes all the difference, as capturing their essential oils at their absolute peak is what preserves that vibrant, homegrown taste.
Honestly, timing is everything. The perfect moment to snip your herbs is mid-morning, right after the dew has evaporated but before the sun gets too hot. This is when the plant’s essential oils are most concentrated, giving you the best possible flavour and aroma to lock in. If you're unsure when specific plants are at their prime, a seasonal gardening calendar can be a real lifesaver.
Prepping Your Herbs for Drying
Once you’ve gathered your fragrant bundles, a little prep work goes a long way. If the herbs are from your own pesticide-free garden, you can usually get away with just a gentle shake to dislodge any dirt or tiny insects. No need to wash.
If you do need to give them a wash, a quick rinse under cool water will do. The most important part is getting them completely dry afterwards. Pat them gently with a tea towel or, for a really efficient job, pop them in a salad spinner. Any lingering moisture is an invitation for mould, so don't skip this step. For methods like air-drying, I find it's best to leave the leaves on the stems to make hanging them up much easier.
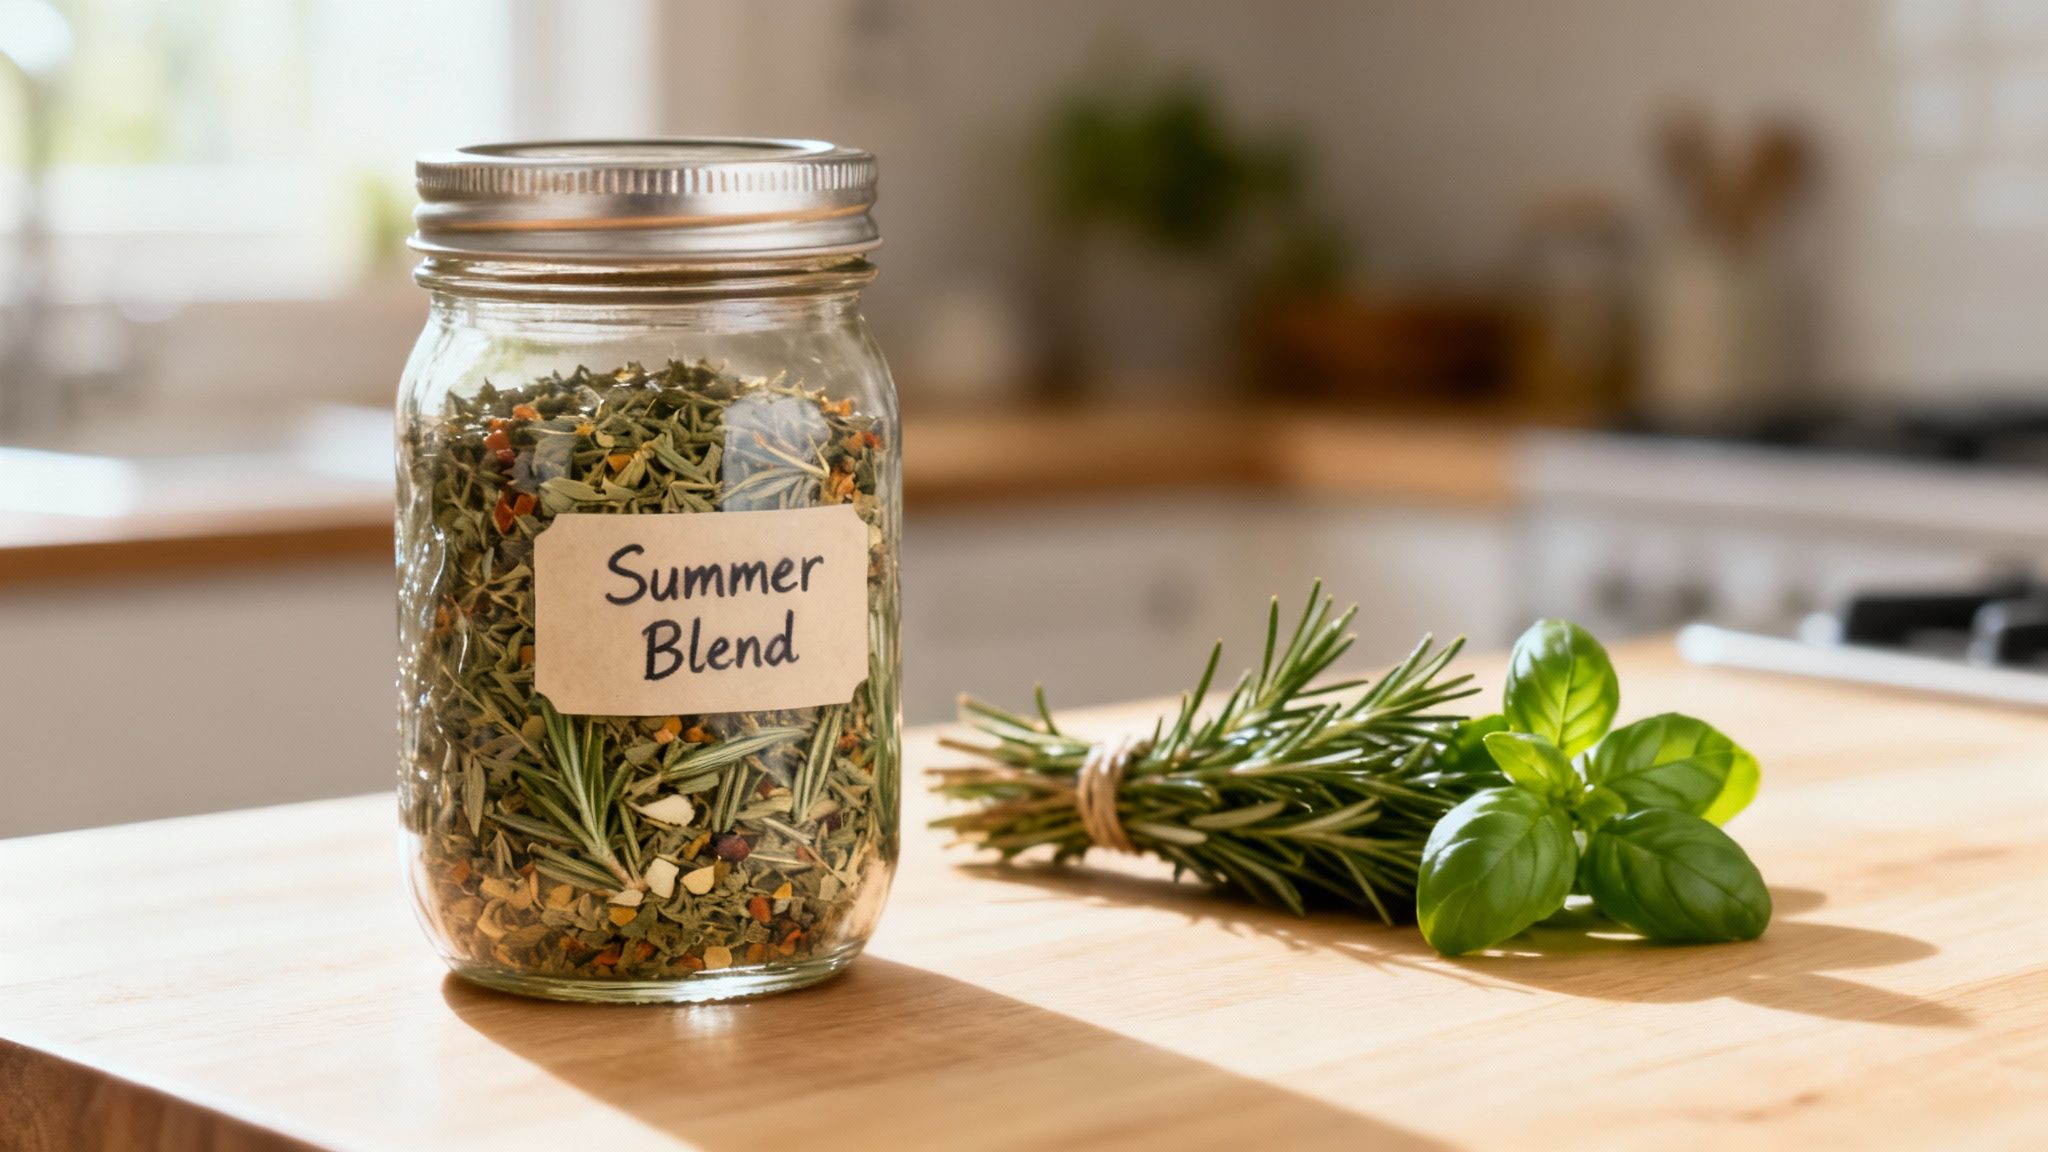
Storing for Lasting Flavour
So, your herbs are perfectly crisp and dry. What now? Proper storage is the final piece of the puzzle to keep them tasting amazing. You need to protect them from their three main enemies: air, light, and heat. These will degrade the essential oils in no time, leaving you with dull, tasteless flakes.
Here’s my go-to checklist for storage:
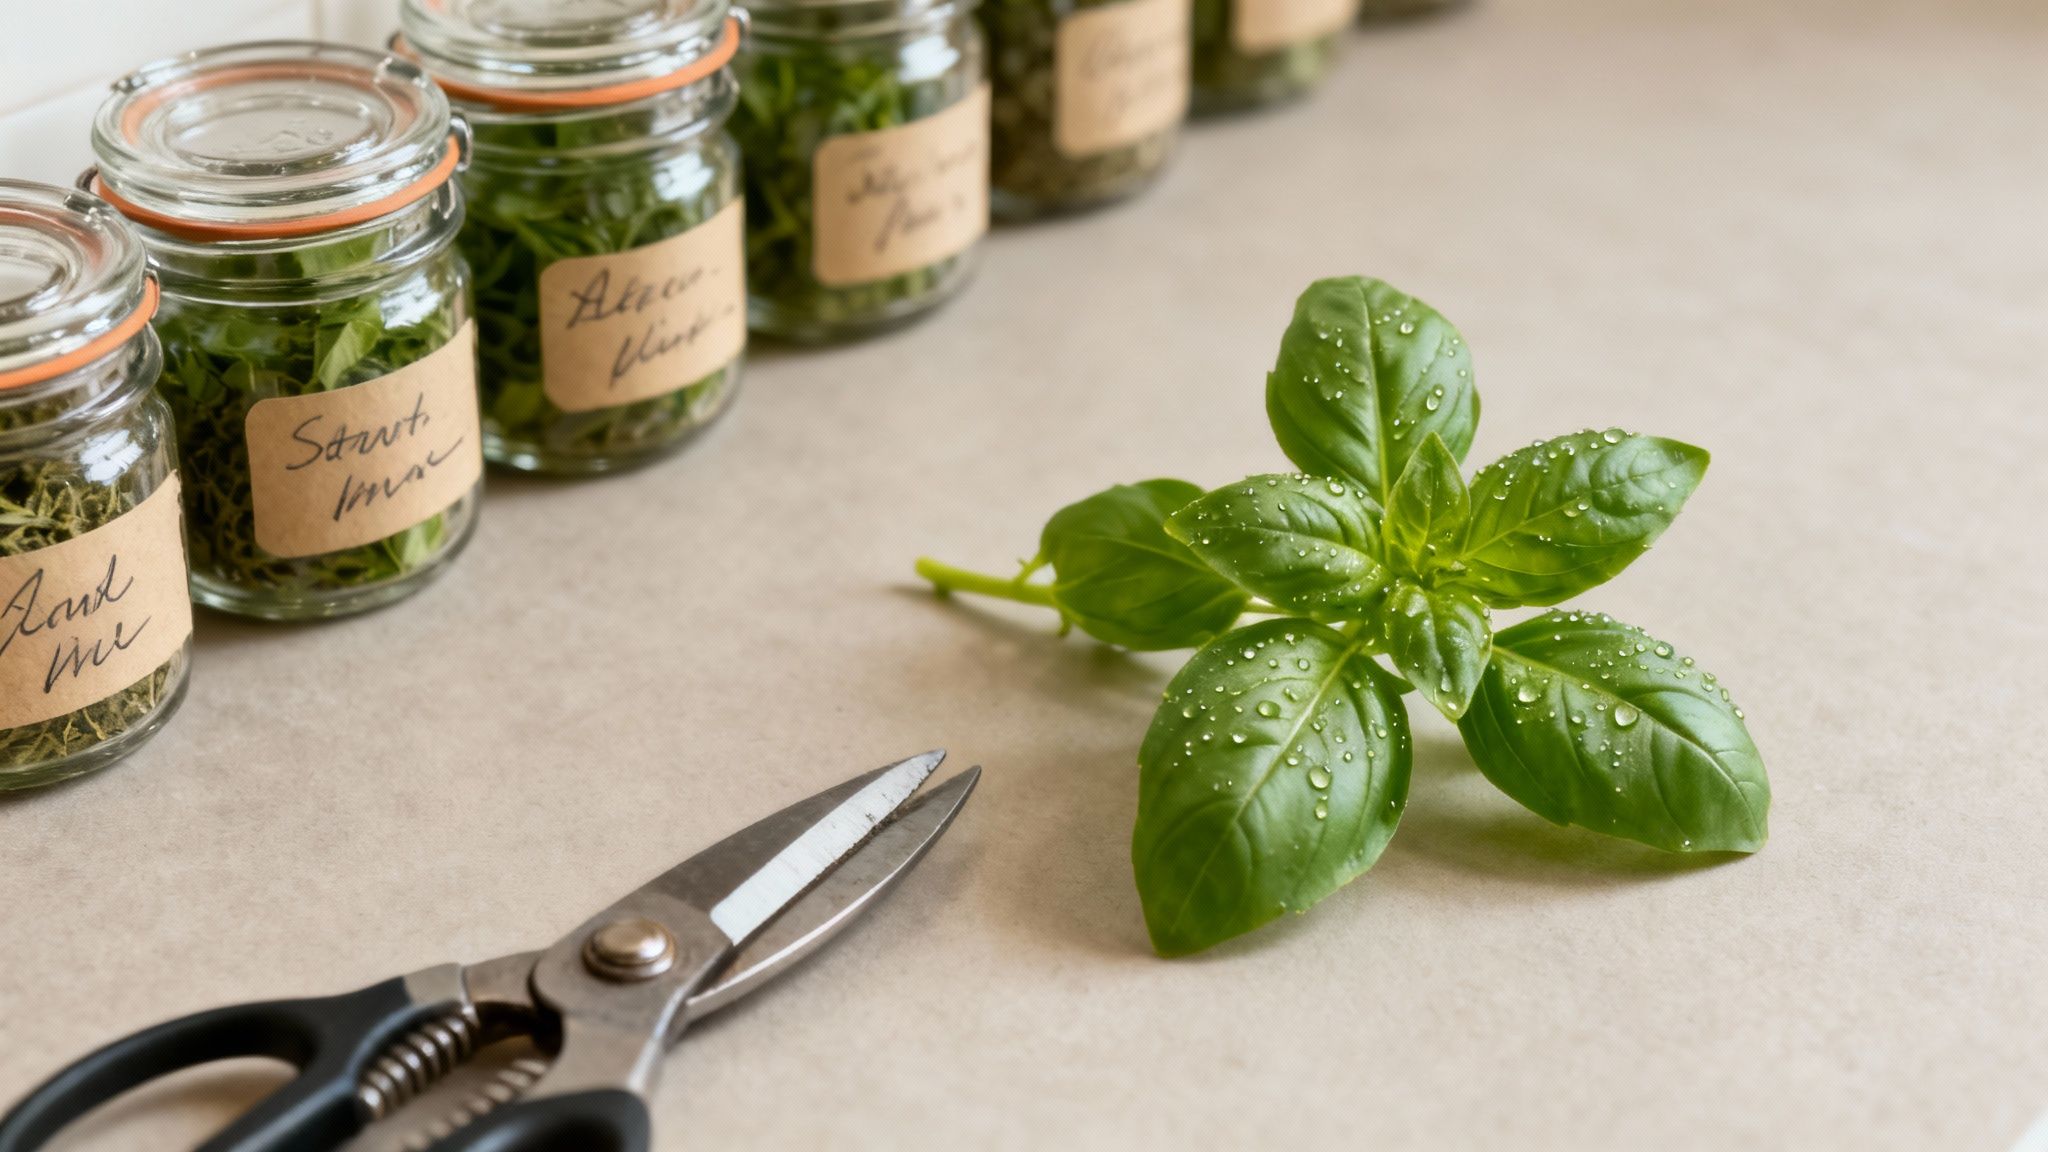
- Airtight Containers: I swear by glass jars with tight-fitting lids. They create a fantastic seal, and you can easily see what you've got.
- A Cool, Dark Place: A kitchen cupboard or pantry, well away from the oven or a sunny window, is ideal.
- Whole Leaves are Best: If you can, store the leaves whole. Crushing them just before you cook releases a much more potent burst of flavour because the oils have been protected.
Stripping the leaves from the stems is one of the most satisfying parts of the whole process. Just hold the stem at the top and run your fingers down against the growth—the leaves will pop right off into your bowl.
And finally, always label everything. A simple sticker with the herb's name and the date you dried it will save you a lot of head-scratching later. Stored this way, your homegrown dried herbs should stay potent and delicious for up to a year.
Troubleshooting Common Herb Drying Problems
Even with the best intentions, things can sometimes go sideways when you're drying fresh herbs. But don't worry, most issues are simple to fix and are all part of the learning process. A little tweak here or there can make all the difference for your next batch.

Let’s start with the most dreaded problem: mould. Seeing fuzzy spots on your beautiful herbs is disheartening, and the cause is almost always too much moisture combined with not enough airflow. This is a classic issue when bundles are packed too tightly together, trapping dampness inside.
The fix is simple. Make your bundles smaller and looser, and hang them with plenty of space in between so the air can circulate properly. A warm, dry spot is essential to keep mould at bay.
How to Keep Your Herbs Vibrant and Flavourful
Ever ended up with herbs that look brown and sad? That's usually a sign of too much heat or direct light. Sunlight will literally bleach the colour out of your herbs, and an oven that's too hot will cook them, destroying the essential oils that give them their wonderful flavour and aroma.
When using your oven, stick to the absolute lowest temperature setting. A great little trick is to prop the door open slightly with a wooden spoon—this lets excess heat and moisture escape. If you're air-drying, a dark room with good ventilation is what you're after.
A very common mistake is simply over-drying, particularly with quick methods like the oven or microwave. Your herbs should be brittle enough to crumble easily, but they shouldn't turn to complete dust when you touch them. Keep a close eye on them and check often to catch them at that perfectly crisp point.
These same principles apply even to tougher plants. Take lavender, for instance; gentle drying is crucial for preserving its famous purple hue and calming scent. We cover the specifics of harvesting in our guide on how to prune lavender, which will help you get it just right from the start.
Once you know what to look out for, you can easily troubleshoot any issues and ensure every batch of herbs you dry is packed with vibrant colour and fantastic flavour.
Your Herb Drying Questions Answered
Even with the best instructions, a few questions always seem to come up when you're preserving herbs for the first time. Let's tackle some of the most common ones so you can feel confident in saving every last bit of your garden's goodness.
Which Herbs Are Easiest for Beginners to Dry?
If you're just getting started, I always recommend beginning with herbs that are naturally low in moisture. The ones with tougher, woodier stems that love a good bit of sun are your best bet—they're incredibly forgiving.
You can't go wrong with these:
- Rosemary: Its needles dry perfectly and keep that incredible piney scent.
- Thyme: Those tiny leaves dry in no time and are a breeze to strip off the stem.
- Oregano and Marjoram: Classics for a reason. They air-dry beautifully without much fuss.
- Bay Leaves: Probably the easiest of all. Just lay them out somewhere dry, and they'll be ready in a couple of weeks.
These are all fantastic candidates for the simple hanging method. Just tie them up in small bundles and let them do their thing.
How Can I Tell If My Herbs Are Completely Dry?
This is the most crucial part, and thankfully, it’s a hands-on test. You’ll know your herbs are perfectly dry when they feel brittle and sound a bit like autumn leaves.
The leaves should be crisp and crumble instantly when you crush them between your fingers. If there's any softness or flexibility, they need more time. The stems are another key indicator; they should snap cleanly in two. A stem that just bends is telling you there's still moisture hiding inside, and that’s a recipe for mould down the road.
Making absolutely certain your herbs are bone-dry before you put them in a jar is the single most important thing you can do. A little extra patience now means you'll have flavourful, mould-free herbs for months to come.
How Do I Substitute Dried Herbs for Fresh in Recipes?
Dried herbs have a much more concentrated, punchy flavour than fresh ones. That’s because all the essential oils are packed into a much smaller space once the water has evaporated.
A great rule of thumb to follow is the 3-to-1 ratio. So, for every one tablespoon of fresh herbs your recipe asks for, you'll want to use one teaspoon of your dried herbs. For instance, if a stew calls for a tablespoon of fresh oregano, just swap it for one teaspoon of your homegrown dried supply. It's always wise to start with a little less—you can always sprinkle in more later if you think it needs it.
How Long Do Homegrown Dried Herbs Last?
When stored correctly, your herbs will taste amazing for a surprisingly long time, far better than anything you'd buy in a shop. As long as they're in airtight containers and kept in a cool, dark place like a pantry, they'll hold their peak flavour for up to a year.
They're still perfectly fine to use after that, but you might notice the colour and aroma start to fade a bit. A brilliant little trick to keep them at their best is to store the leaves whole. Only crush or grind what you need right before adding it to your cooking. This keeps all those precious oils locked inside, ready to release a burst of incredible flavour.